Hi all! My name is Erin, and I blog over at
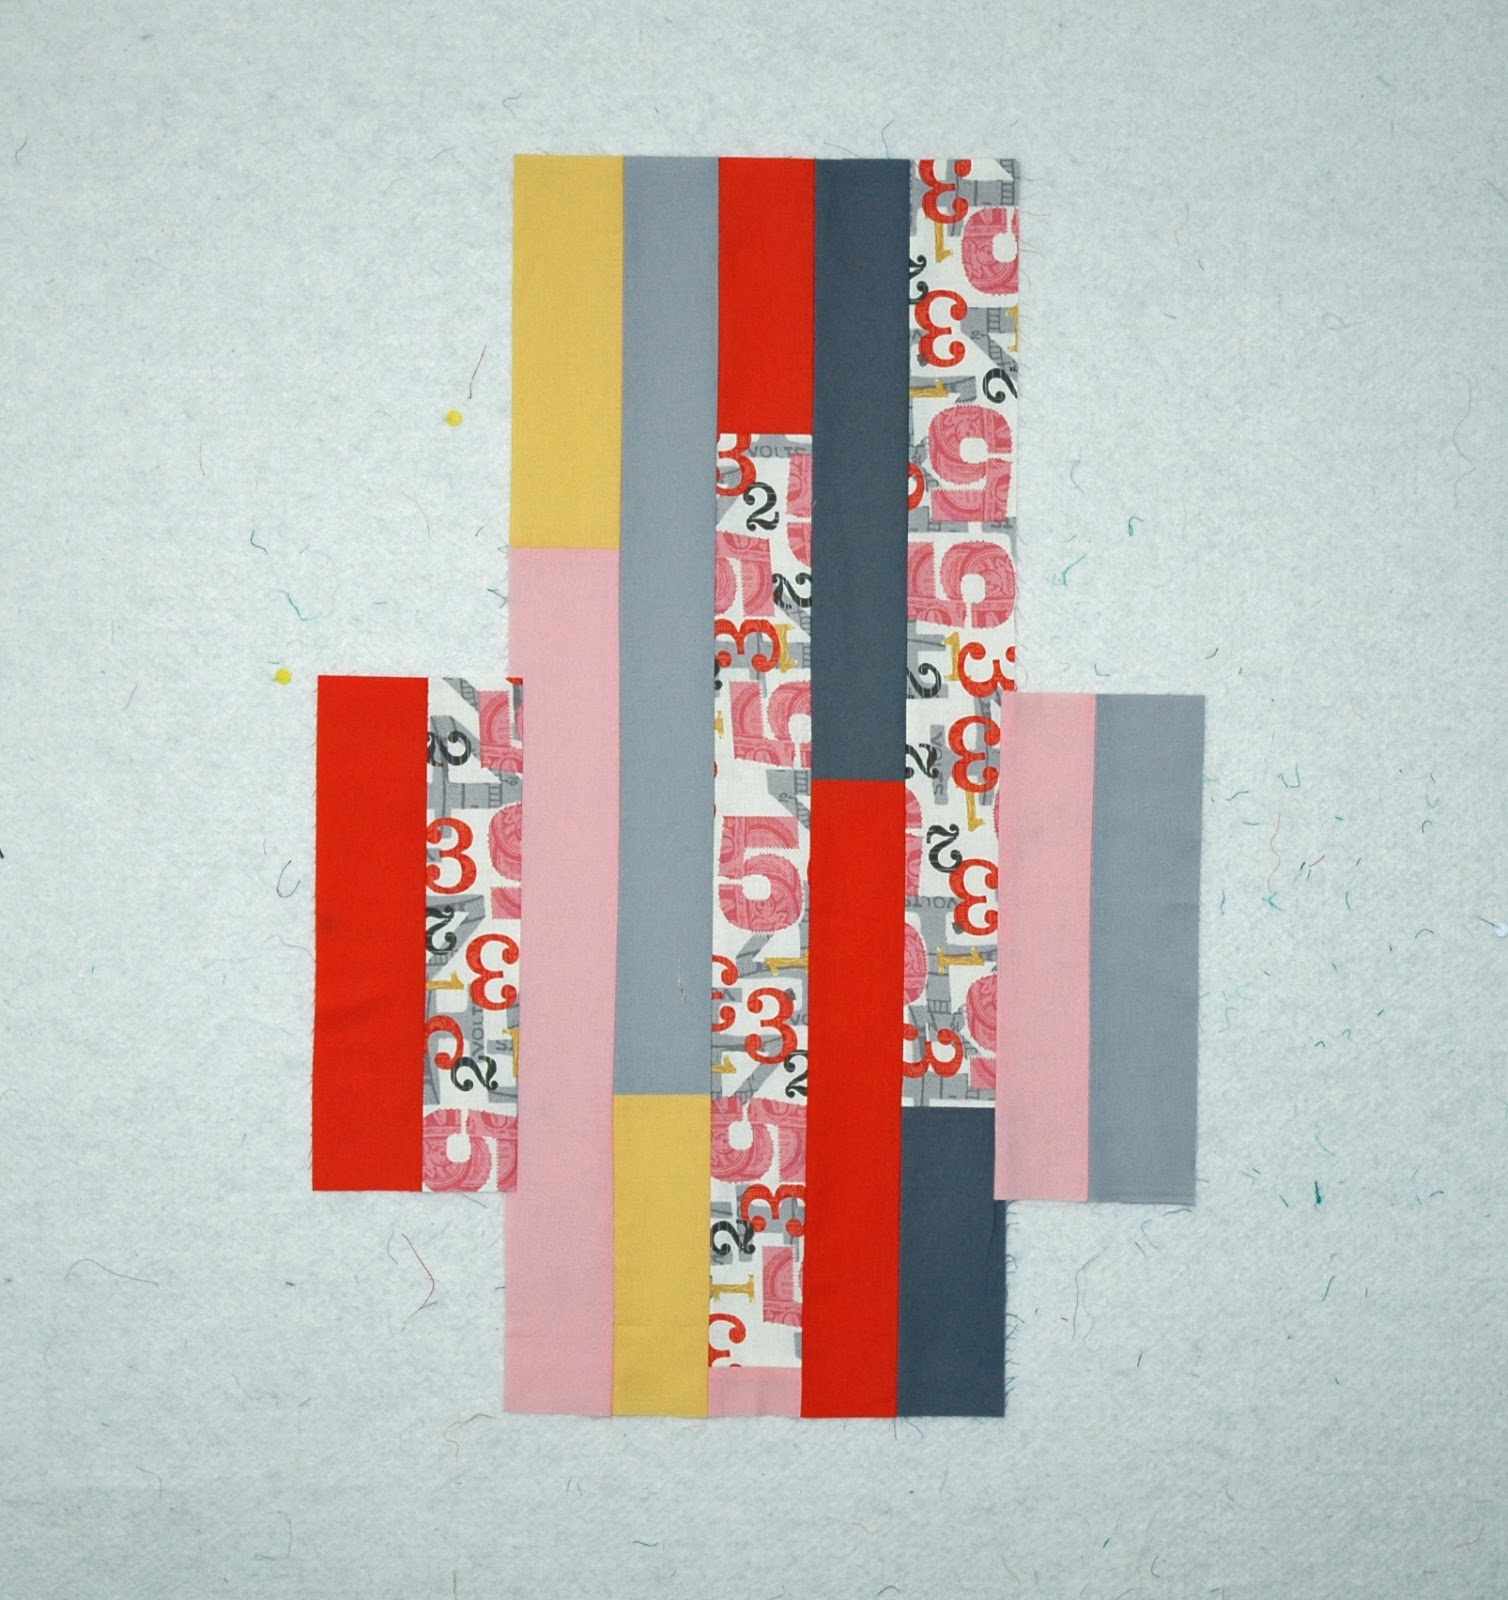
Sew at Home Mummy. I'm really excited today to share with you how to make an 'on-the-go' baby change pad with a built-in wet bag. I used the six colors in my custom fat quarter bundle to create a scrappy, sassy look!

Materials:
- 1 yard coordinating oil cloth
- 1 yard craft-weight fusible interfacing (20”-25” wide)
- 1 12” coordinating zipper
- 1 piece sew-in Velcro (approx 1” square)
- 1 old, clean yogurt/sour cream container
- 1 package of double-fold bias binding (3 yards)
- 1 package of magnetic snap (for purses and totes), ½”
- fabric marker
- Machine needles: 1 quilting or universal needle for piecing;
1 denim or leather needle
- Machine feet: ¼” quilting foot; zig-zag foot; zipper foot
Cutting Instructions:
Oilcloth:
- cut 1 piece 9.5" x 13"
- set remainder aside for cutting later.
Strips:
-
from main fabric, 4 strips 20” x 2.75”
-
from each of the 5 coordinating fabrics, 2
strips 20” x 2.75”
-
from main fabric cut 2 strips 3” x 1.5”
-
from main fabric cut 1 strip 1.25” x 10”; press
under both end edges ¼” ; press under one long edge ¼”
Interfacing:
-
Piece A: 4.5” x 11.0”
-
Piece B: 3.75” x 11” (CUT 2)
-
Piece C: 11” x 6”
-
Piece D: 11” x 1”
Sewing Instructions:
Piecing the Outside/backside (1/4” Seam Allowance):
1)
sew
two strips, end to end. Press seam open. Trip strip set to 28.5” long. Set
aside.
 |
| trim strips to 28.5" |
2)
taking
the piece you just trimmed off the end, sew it to another full length strip,
end to end. Press seam open. Trim to
28.5” long. Set aside.
3) Repeat
step 2, until you have a total of 5 strip sets.
4)
Organize
your 5 sets on your design wall or table in a orientation that’s pleasing to
you
 |
| arrange strips in pleasing order |
sew strips together, alternating starting ends of seams to avoid
warping. Press seams open.
5)
Select
2 remaining strips and sew together lengthwise; press seams open. Trim to 11.5”
long. Repeat to make second 11.5” long strip set.
 |
| make 2 11.5" strip sets |
6)
Measuring
and marking 5” from the bottom on both sides of the larger strip set, align the
shorter strip sets, right sides together, pin. Sew, back-stitching at both ends.
Press seams towards smaller flaps.
 |
| align smaller strip sets 5" from bottom on either side. |
 |
| Pin in place. Sew. Press seams towards smaller set. |
 |
| flaps sewn on. |
7)
Taking
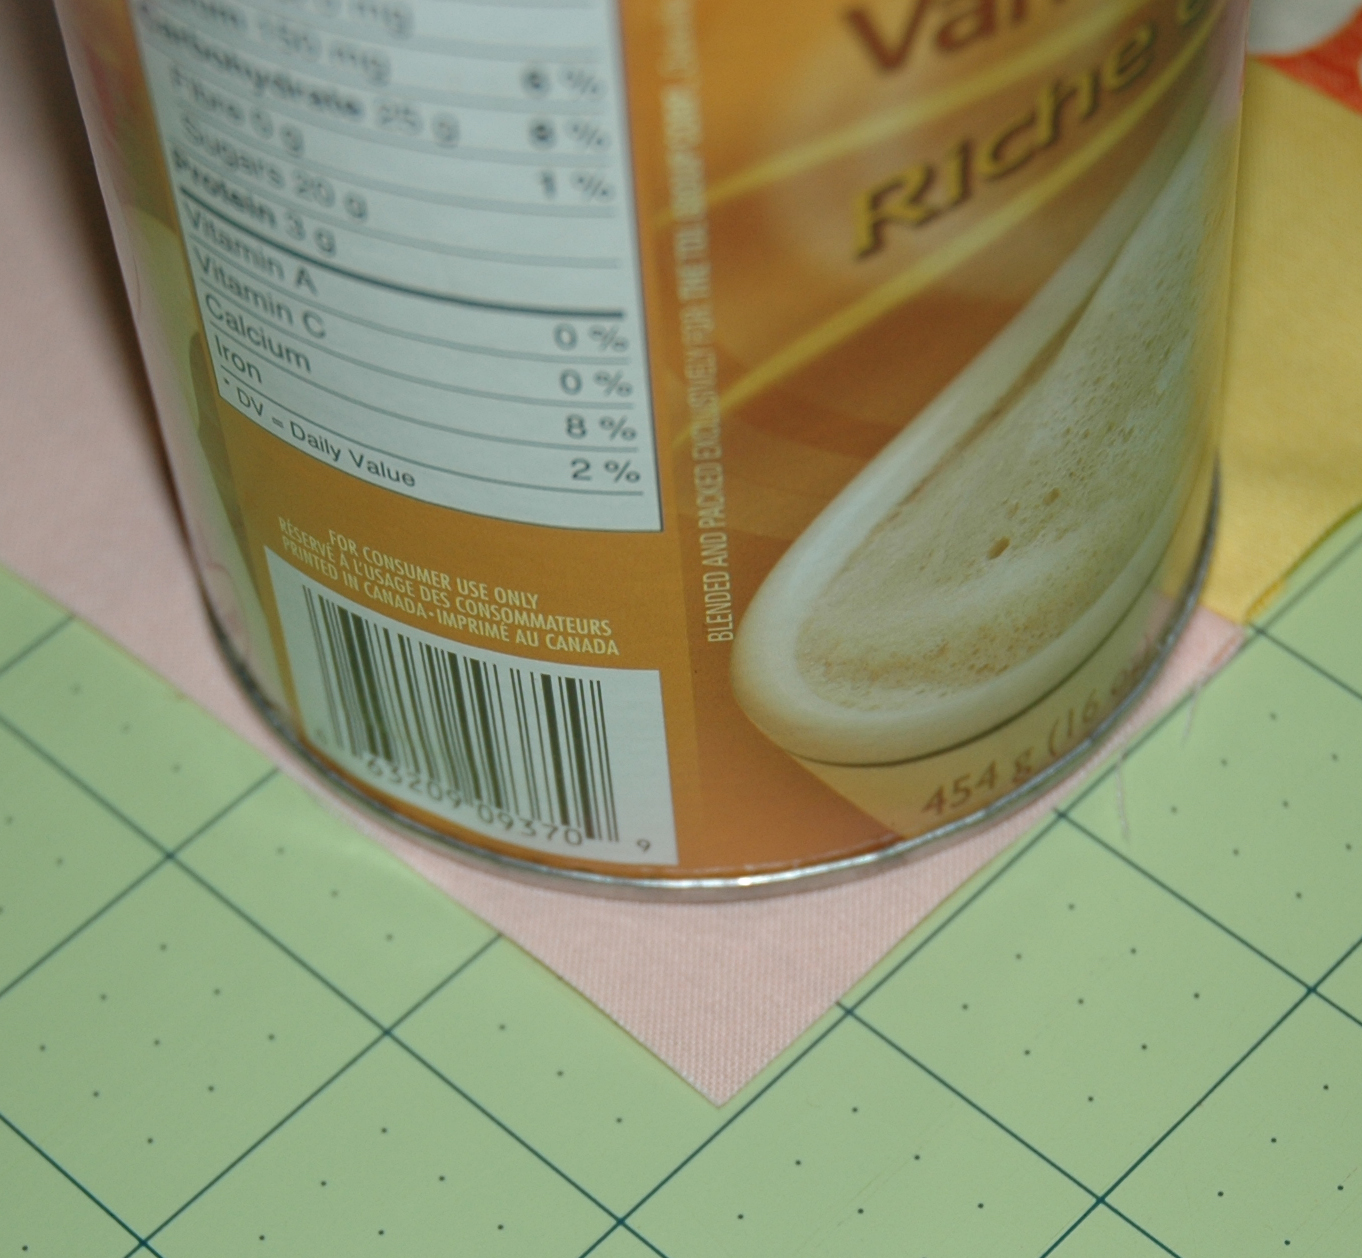
a small mug or coffee tin, draw rounded corners at each corner. Trim.
 |
| draw rounded corners on each corner |
 |
| trim. |
8) Measuring
12” from the bottom of the change pad back, draw a centered straight line with
your fabric marker, 9.5” long. Cut along
line, creating a slit.
Attaching interfacing:
***Please attach interfacing according to manufacturer’s
instructions.***
1)
Attach
Piece A to the bottom end of the change pad, trimming corners to fit, affixing
it approximately ¼” from the bottom edge
2) Attach
Pieces B to each of the side flaps, trimming corners again as you did in 1),
affixing approximately ¼” from the side edges.
3)
Attach
Piece C ½” below the slit opening you made above.
4) Attach
Piece D ½” above the slit opening you made.
5) Attach
Piece E about 1/4” above piece D.
6)
Attach
Piece F about ¼” from the upper edge, trimming corners as you did above to
fit.
 |
| what all of your interfacing attached should look like. |
Inserting the Zipper:
1)
take
3” x 1.5” strips and fold over long edge ¼” and press.
 |
| x 2 |
2) press
strips in half.
3)
Place
zipper in fold of strips, with one folded strip's pressed edge about 9” from the beginning of the zipper
pull on one side, and the other right up against the beginning of the zipper pull on the other side. Sew in place about 1/4" from folded edge.
4)
Fold
back fabric and trim zipper along ¼” seam lines on both ends.
5)
Trim
tab even with zipper edge.
 |
| trim zipper tabs on both ends even with zipper tape top. |
SWITCH TO DENIM OR LEATHER MACHINE NEEDLE.
a. Changepad
backside, along lower slit, right side UP
b. Zipper,
closed pull to left, bottom zipper tape face DOWN
c. Oil
cloth (13” x 9.5” piece) right side DOWN.
7)
Sew
with zipper foot, close to teeth. Back-stitch at each end; you may need to move the zipper pull out of the way while sewing.
 |
| FUN! You get to use your super-cool zipper foot ;) |
8)
Turn
oil cloth to wrong side of change pad (stuff it through the slit opening); finger press to back. Top stitch the oil cloth in place, close to zipper.
9) Then,
pin in order:
a. Oil
cloth, right side UP
b. Zipper
TOP, right side UP
c. 1.5”
x 10” pressed strip, right side DOWN, aligning raw edge with zipper tape edge (keeping the pressed edge free).
10) Sew
using zipper foot.
11)
Lay
pad back flat on a table; fold pressed strip back and align with remaining raw edge of
slit; pin, sew, top-stitching about 1/8" from edge of strip around the entire perimeter.
 |
| fold the strip back toward the remaining slit raw edge, while keeping the change pad as flat as possible on the table. Pin the pressed folded edge of the strip over the slit raw edge. |
 |
| top-stitch around outer edge of strip. |
12) Flip change pad over to wrong side; sew oil cloth pouch, right sides together up sides of pouch.
 |
| sew up both sides of oil cloth, creating pouch. Careful not to catch any of the front change pad in the seam. |
Attaching your Velcro tabs:
1)
Using
one of the leftover 2.75” strips, create a double folded strip. Sew down the
center of the strip to secure.
2)
Cut
strip in half; to right side of one change pad flap, pin one sewn strip approximately 1.5” from edge,
with majority of strip facing towards center of change pad, away from edge. Zig-zag raw edge in place.
 |
| zig-zag raw edge in place |
3)
fold
the strip back over on itself, covering up the zig-zagged edge and overlapping strip by about ½”. Sew in place with an 'x' in box-type stitch to reinforce
 |
| reinforce tab with 'x'-in box type stitch |
4)
Repeat
for other side flap.
5) trim
right side strip to 4” ; trim left side strip to 4.25”.
6)
Zig-zag raw edge of right strips. Trim Velcro pieces to width of strips.
 |
| trim Velcro to fit |
7)
Folding
over zig-zagged edge ¼”, pin in place; pin Velcro piece over top of raw edge. Sew in place.
 |
| pin Velcro over folded zig-zagged edge. |
 |
| sew Velcro in place |
8)
Repeat
for left side, ensuring the your Velcro pieces will over lap
NOTE:
One strip will have the Velcro on top of it, the other on the bottom.
Cutting your Oilcloth:
1) Lay
your oilcloth RIGHT SIDE UP on your cutting mat (you'll find it much easier to cut this way - the under side of oil cloth is quite slippery).
2) Lay
your change pad backside RIGHT SIDE DOWN on top of the oilcloth.
3)
Oil
cloth is notorious for pin holes that don’t heal...so, we can’t pin it
together. Lay some heavy stuff on top of the pad to stabilize it for cutting. If you have heavy bean-sacs for quilting these would work great! (I just used what I had kicking around).
 |
| weight your pad down on top of the oil cloth |
4) VERY
carefully, cut the oil cloth, using your pieced back as a guide. (PICTURE)
 |
| oooh.... pretty.... |
Inserting the Magnetic Closures:
Pieced Backside:
1)
measure
from the bottom of the backside of the pad 9” centered; mark with fabric
marker.
2)
Remember
that old yogurt container I mentioned? Cut (from the lid or flat portion) 2
pieces, approximately 1-1.5” square (roughly) and round/smooth edges. (PICTURE)
 |
| reduce, reuse, recycle! |
3)
Now
– install your magnetic closure (female piece) at the mark, following the
manufacturer’s instructions. Use one plastic cut out as the back support (the
instructions on the packaging say to use cardboard; if we want to be able to
wash this, we’ll need something more water-proof, like plastic)
 |
| yogurt container piece used as support. strawberry? YUM! |
Oil Cloth Inside:
1)
Place mark on the RIGHT SIDE of the oil cloth cut out: centered, 1.5” from TOP of
change pad.
 |
| right side, from top: mark 1.5" down, centered. |
This is where you’ll insert the second half of the
magnetic closure (the ‘male’ piece).
2)
Repeat
steps 2 & 3 above.
 |
| magnetic closure inserted on top section of inner pad |
Let’s stop here and give the cotton part of
the change pad a good hot press, careful to avoid any oil cloth with the iron.
Finishing your Changepad
1) Since
we have already established you can’t use pins with oil cloth, pull out your
basting clips!
a. Layer:
i.
OILCLOTH right side DOWN
ii.
Back pieced right side UP (pouch facing to
bottom)
iii.
Pin back your Velcro tabs to your fabric only
(so as not to catch it in binding)
b. Clip
baste in place, smoothing fabric flat as you go.
2)
Zig-zag
raw edges together.
3) Attach
double-fold bias binding.
You're done!
To fold your change pad:
 |
| sides flap out for extra protection; the oil cloth is easily cleaned if baby makes a doo-doo! |
 |
| folds compactly and will slide into the side pouch of most diaper bags for easy access! |
 |
a small pack of wipes and a couple of diapers fit nicely in the backside pouch;
and, the pouch is water proof - in case there are any messy accidents! |
Thanks for letting me share my tutorial with you today, and a special thanks to
Chrissy at Sew Lux for inviting me to do this challenge!
Happy quilting!
Erin


 Materials: