Monday, June 27, 2016

Shop News : Bundles, Sales and More!

Hope your week is off to a fantastic start!  Just wanted to stop in and share a few shop updates with you ... 

A couple of new bundles are now available, including this fun rainbow of tiny florals from Sew & Sew. This Apron Strings print is the cutest and is small scale so it works with anything! 


Our first Americana bundle didn't last long, so we made up a similar one and have just a handful of these available.  Perfect for summer and sharing your American Spirit!


Now through the end of June, all Tula Pink yardage is on sale, including wide backs!


And ... we are starting presales for some of our favorites coming this fall, including Handmade and Olive's Flower Market. 


Happy Sewing! :)

Thursday, June 23, 2016

Weekender Bag Sew Along : Week Two (Pocket Piecing)


Hey there friends!  I promise I've done some sewing since my last post ... maybe not as much as I had hoped, but I was on vacation.  :-) 

I usually sew on a Bernina 710, but took my smaller 210 to the Outer Banks with me and enjoyed sewing with the ocean and sand dunes, and the occasional wild pony, in the background.  Relaxing and a fun week away.  


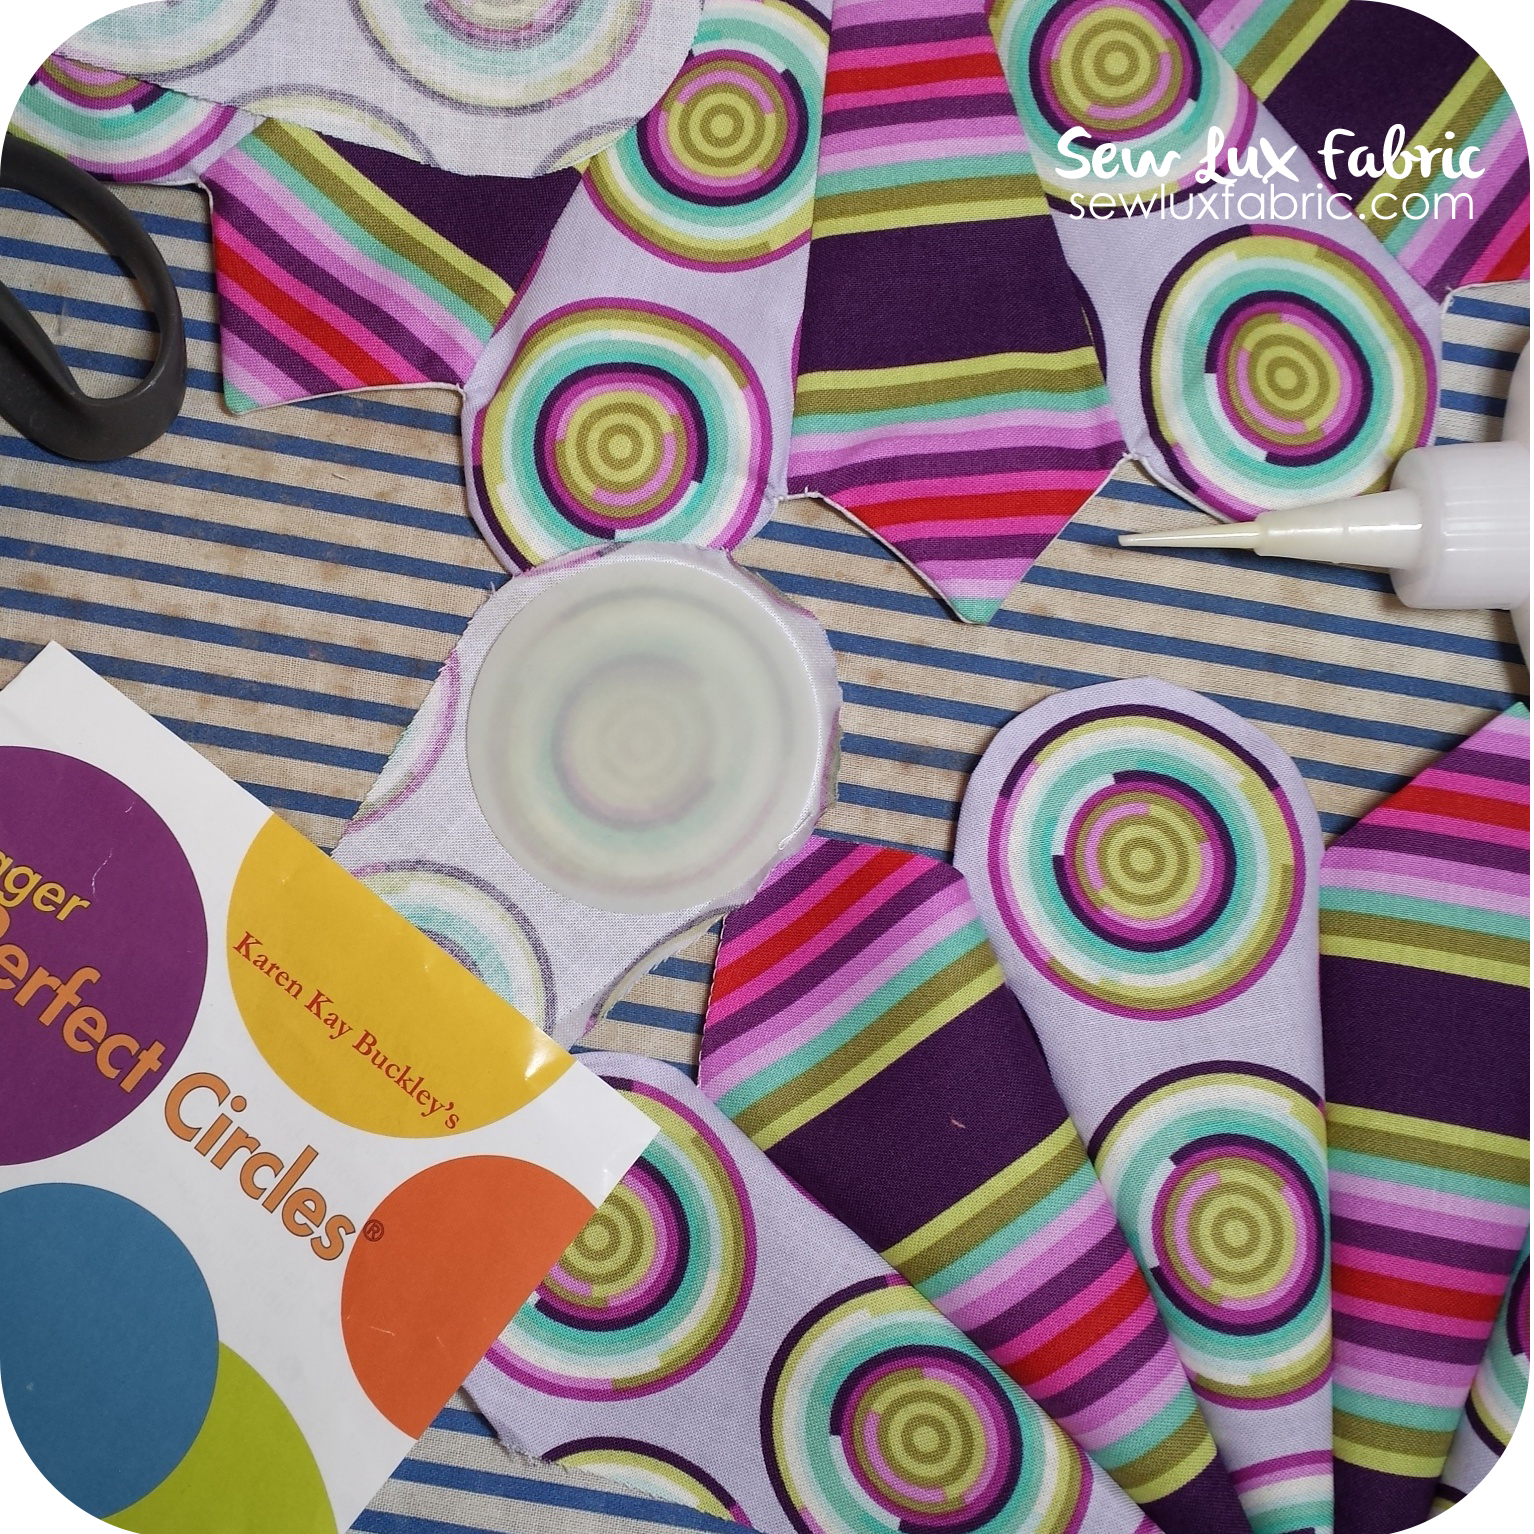
If you follow me on Instagram (@sewlux), you've seen these photos, but I wanted to walk you through a little more of my pocket piecing process.

You may have also seen that Sew & Sew by Chloe's Closet arrived right before I left for the beach and I changed my mind about my fabric choices...  I mean, they are just so pretty!


I knew I wanted to put an initial on one end of the pocket.  I decided it would be super cute to put it inside a spool ... I used the Spell It With Moda letter as my inspiration and scaled it down... way down.  The letter finished at 1.5" wide x 2.5" tall.  I made the Mini Spool from Thimble Blossoms a little taller to accommodate that but otherwise followed Camille's directions.  I think it's really cute if I do say so myself! ;-)


My next end pocket is the cute little flower from Handmade - also a mini pattern by Camille. I fussy cut a bunch of flowers from this print as the center.  And can we talk about these measuring tape prints?!  I plan to add some borders to this one and to make it large enough.


Since I was traveling and wasn't sure what kind of iron and ironing board might be available at the beach house, I invested in a cute little travel iron and ironing mat that I got off of Amazon.  While small, this iron definitely did the job and got super hot.  I didn't use steam, but it was hot enough to press my seams nice and flat.  (Side note: after reading some reviews about these ironing mats/pads, I brought along a little tv tray table and used it as my ironing surface just in case ... and that way I didn't risk ruining the dining table at the house.)


I decided to piece some of the small Smitten blocks for both of my larger pockets.  I machine piece these and use the Marti Michell templates to cut and mark my fabrics. 


I used a paper grocery bag to make a template of the pocket size and then the MM templates to mark the layout to figure out how many blocks I would need to make.  And then I had a great time playing around with fabrics ...


Can all the blocks be my favorite? I don't think I can choose just one... ;-)

I think this bag is going to be totally dreamy with these colors and florals mixed up.  To make the pocket panel big enough, I added some partial unpieced hexagons (using the largest whole hexagon template in the set to cut them) along the top and sides.  Since the bottom of the hexagons on the second row will be cut off some, I kept all the most intricately pieced blocks along the top row where they could be seen.


I will be quilting up my pockets and other panel pieces this weekend ... I will post an update in a few days!

Happy Sewing! :-)

Monday, June 6, 2016

Weekender Bag Sew Along : Week One

Happy Monday, friends!

Who is ready to start sewing up an Amy Butler Weekender bag?!  I'm teaming up with Debbie over at Happy Little Cottage to stitch up another great bag and I so hope you'll join the fun!


A lot of folks fear making the Weekender. While it definitely is no simple zipper pouch, it is a doable bag! And just think how proud of yourself you will be to sling this thing over your shoulder and say "I made it!" when someone asks where you got that amazing bag. :-)

There are a few parts of the assembly that are more difficult than others (mainly the worst is attaching the second side panel to the rest of the bag), but I encourage you to go for it! And have fun making it your own. :-)

This will be my third bag. I made my first one and then hosted a sew along with a few other friends a couple of years ago.  Those posts can all be found under this tag here.


Our schedule for this Sew Along is pretty laid back ...

  • Mon. June 6 (today!) - Planning Your Fabrics & Materials
  • Mon. June 20 - Cutting, Interfacing & Making the Panels
  • Mon. July 6 - Sewing the Outer Bag Together
  • Mon. July 11 - Finishing the Bag & Link Up
  • Mon. July 25 - Prizes!!!

In my last Weekender Bag Sew Along, here are some thoughts on supplies that I shared (image from then as seen in this post):


General supplies you need: 


  • The pattern!  (Obviously!) ...   We have these on order ... and will be arriving soon.
  • Zipper (I have used both metal and plastic molded.) You need a 30 inch zipper - I found mine at a big box fabric store in the past, but this time plan to order a double pull from my favorite zipper supplier
  • Coordinating thread 
  • Jeans Needles (trust me, you need a jeans needle)
  • Appropriate machine feet - regular piecing, walking foot, zipper foot, piping foot (Note:  I don't have a piping foot, so I use my zipper foot.) 
  • Clover Wonder clips (or binding clips) - HIGHLY recommended.  Pins would work, but its not going to be fun. 
  • Fabric marking pen
  • 5 yards of cording to make your own piping (I am working on getting this in the shop)
  • Sewing Machine - this is definitely the job for a machine! ;-)
  • Fabric and interfacing (more details on what I used last time here

I am planning to piece my pockets again this time.  And I have been back and forth with myself about the design.  I've sketched out a few things in my graph paper notebook, making notes about the larger panels and what blocks might fit in the side panels, etc. 

Funny thing.... when I mentioned to my Mom about this sew along, our conversation went like this ... 

Her: "Haven't you already made two of these?"  

Me: "Yes, but I gifted one."

Her: "Maybe you could make this one for me." 

In my mind: "I was planning to keep this one."

So ... it looks like I may be attempting two.  Crazy talk, right?! Which means I may experiment a little on the second and share my thoughts with you. :)

She picked out Grand Canal by Kate Spain (due out this Fall). 


I picked out Handmade by Bonnie & Camille (due in September). 


My fabric selections should not be a shock! ;-) 

I hope you will sew along with us!  I will share my progress and tips here as well as on Instagram (@sewlux).  Join the fun with #wbsa2016

See you soon!

Sunday, June 5, 2016

Mini Mania : Hula Hoop

It's Mini Mania time!  :)

May got away from me, so we're running a little behind our schedule sharing this one, but I think it was worth the wait!  

May's mini is our 5th in the Mini Mania book by Abbey Lane Quilts and is a fun dresden block that alternates pointed and rounded blades. I decided on Chipper by Tula Pink and that fussy cuts were in order! 


Admittedly, I had some issues with the suggested method of construction for the blades.  This one uses templates and has you sew it to a muslin and turn right sides out before attaching to the background.  As you can see in the photo below (top set of blades) that this came out really wonky for me in the corners between the blades.  I decided to start over and press the top of my blades under and glue baste before joining them.  For me, this came out better and I used my "Perfect Circles" by Karen Kay Buckley to help me with the curved blades. If you don't have Perfect Circles, check out this video by Sarah Fielke for how to make curved applique pieces.


Fussy cuts for the win!  I made these pretty easily, lining up my templates on the same part of the stripe (or dot) on the fabric.


I decided to quilt a grid in the background and used a ruler and 1" painter's tape to mark my lines. This is an easy method of marking and doesn't hurt the fabric. :)  I didn't quilt the dresden, but am considering going back to add some hand stitching with perle thread.


I used some light purple Aurifil 50 weight thread for my applique and quilting. I like the subtle effect of the pale purple on the black Crossweave background.  And can we talk about the binding stripe!? Love it!


We have kits for this one available (and we can make this in two other color ways - aqua and green - just let us know if you'd like)!


And our friend, Jennie at Clover & Violet, stitched up another version in Coral Queen of the Sea. A kit for her version is also available!

Until next time ... happy sewing! :-)