Happy Friday y'all!
I was working on my Bitty Blocks for the Bitty Block Committee swap on Flickr today and managed to finish one of two sets and the prototype for the second one.
This month's theme is jars and a lot of folks already used fruity prints, etc. I really wanted to do a button jar and thought about sewing on real buttons, but thought that might make piecing the block a little tricky. So, I came up with this ...
I think they are pretty stinkin' cute! :-)
Then, I started thinking hard about my other theme ... white + a color - in my case purple. You know that pink would've been a better choice for me! LOL Anyway, not a lot of purple in my stash to work with and I wanted a block that would be kind of different.
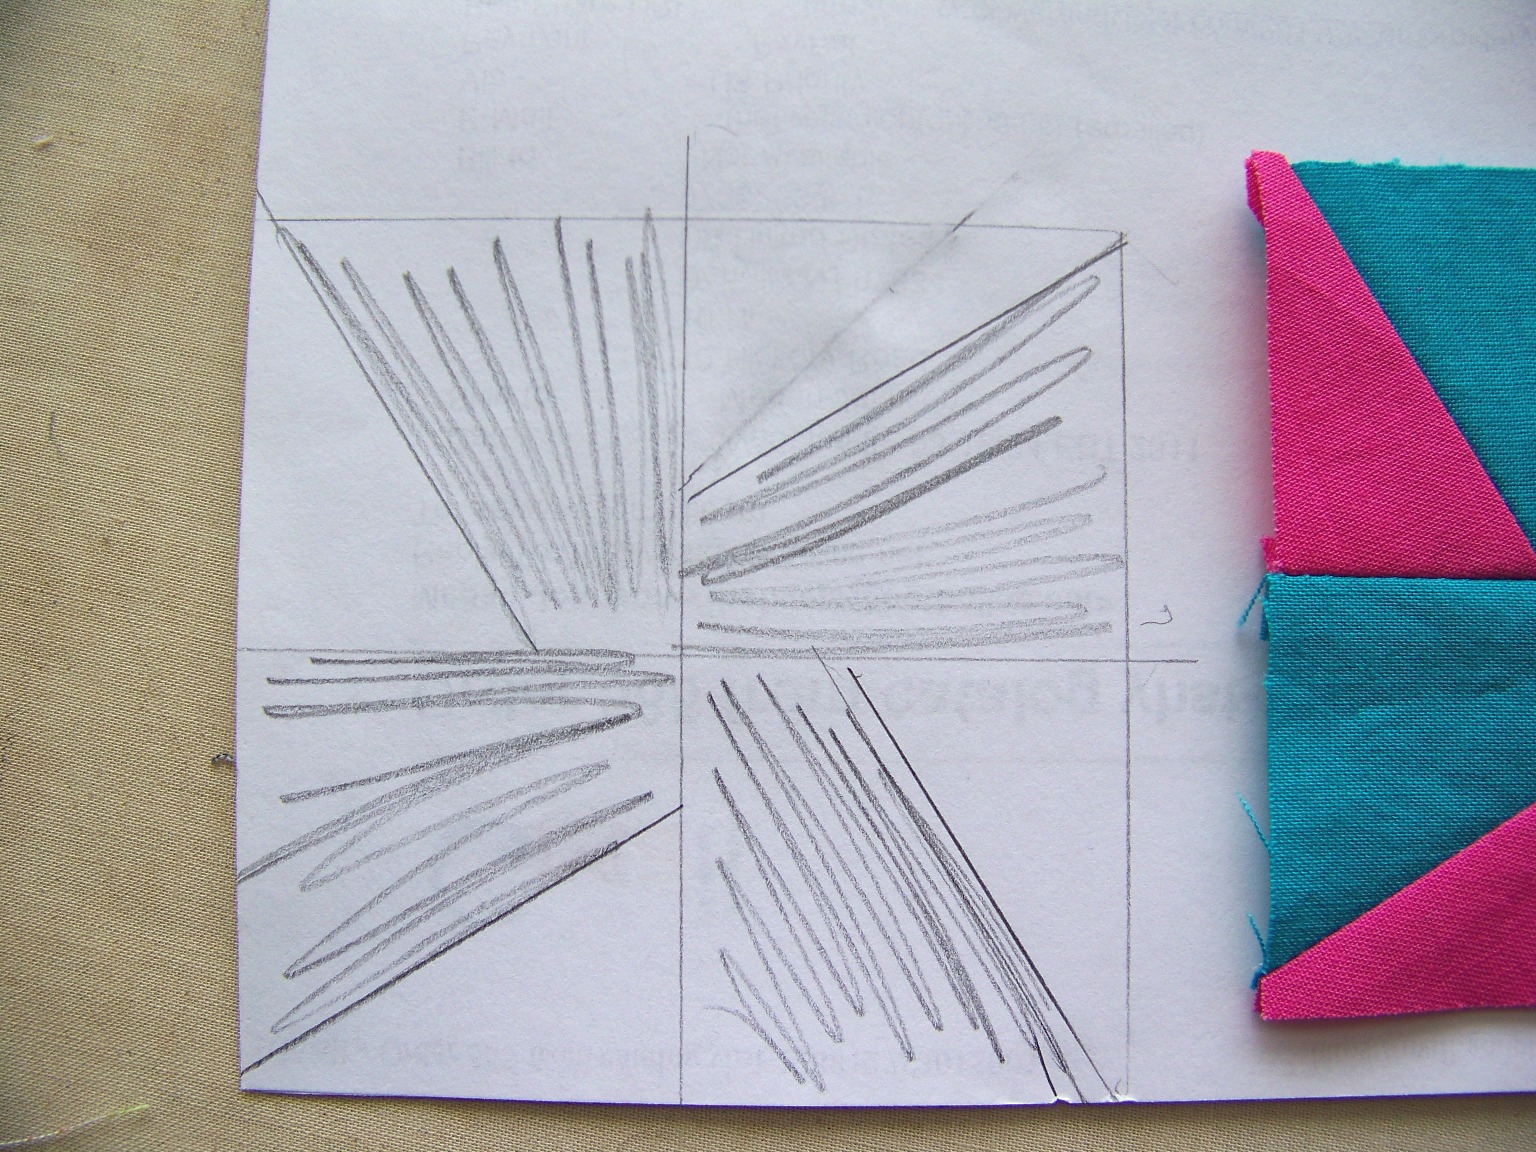
I decided to do a mini dresden in the corner of the block. It took a few tries to draft a pattern the right size, but here is my prototype ...
What do you think?!
Well, I'm outta here for now .... see ya tomorrow.
Happy Sewing! :-)
Showing posts with label Bitty Blocks. Show all posts
Friday, August 12, 2011
Friday, August 5, 2011
Bitty Block Tutorial + Giveaway
Hey there friends! Happy Friday :-)
Last month, I joined the Bitty Block Committee swap on Flickr and jumped into the 3.5" block craziness! :-) I had made a bitty whirligig block and a few folks wanted a tutorial ... so here goes!
First, I'll show you my original blocks ... "modern solids" was our theme.
Ok, let's get started! I designed a little sketch first ... here's my original.
Now, grab a piece of cardboard - the backing of those sweet charm packs is perfect for this. ;-) And cut a 2" square.
You'll end up with this ...
Perfect! Ok, using your ruler, trace a diagonal line. Note - the line should be off of one corner by 0.5" but lined up with the other corner. (Corner to corner would make a regular pinwheel.)
Draw a line with a pen or pencil.
Now ... line up your ruler along the diagonal and ADD a 1/4 inch. Slice. You'll see that we've included the seam allowance on our template.
Ok ... now you need FOUR 2" squares and four strips for the background. (I eyeball the strips - but they need to be long enough and wide enough to cover the triangle on the corner of the squares after you sew.) Line up your template on the squares and mark where the corner was lopped off on the template.
To sew, line up the background strip with the line. Stitch 1/4" inside the line. As illustrated in the picture.
This next photo shows three steps. 1st: Trim the corner from your square fabric. 2nd: Press open the seam toward the background. 3rd: Trim the block back to 2" square with your ruler + rotary cutter.
Line up your blocks so you know you'll be sewing them in the right direction. ;-) You want to sew the top 2 and then the bottom 2 together and press in opposite directions.
Then sew the rows together and then I press this seam open.
Viola! You love it, right?
I used the Essential Dots Bubblegum and Bella White for this and am just imagining what a rainbow of these bitty dotty blocks would look like.
Wait, didn't I mention a giveaway in the title of this post?! Well ... here's your challenge! Make a bitty whirligig block and share the link with us below.
Giveaway Details: Please share a link to a post that includes a block (or project including a block) made from this tutorial. Include in your post/Flickr photo description a link back to this tutorial post. Deadline to be included for the giveaway drawing is Sunday, 8/14/11 at 11:59 PM. We'll draw FIVE random winners to receive a $5 gift certificate toward anything at Sew Lux. International stitchers welcome. Winners will be announced here on the blog on Monday, 8/15/11.
Last month, I joined the Bitty Block Committee swap on Flickr and jumped into the 3.5" block craziness! :-) I had made a bitty whirligig block and a few folks wanted a tutorial ... so here goes!
First, I'll show you my original blocks ... "modern solids" was our theme.
Ok, let's get started! I designed a little sketch first ... here's my original.
Now, grab a piece of cardboard - the backing of those sweet charm packs is perfect for this. ;-) And cut a 2" square.
You'll end up with this ...
Perfect! Ok, using your ruler, trace a diagonal line. Note - the line should be off of one corner by 0.5" but lined up with the other corner. (Corner to corner would make a regular pinwheel.)
Draw a line with a pen or pencil.
Now ... line up your ruler along the diagonal and ADD a 1/4 inch. Slice. You'll see that we've included the seam allowance on our template.
Ok ... now you need FOUR 2" squares and four strips for the background. (I eyeball the strips - but they need to be long enough and wide enough to cover the triangle on the corner of the squares after you sew.) Line up your template on the squares and mark where the corner was lopped off on the template.
To sew, line up the background strip with the line. Stitch 1/4" inside the line. As illustrated in the picture.
This next photo shows three steps. 1st: Trim the corner from your square fabric. 2nd: Press open the seam toward the background. 3rd: Trim the block back to 2" square with your ruler + rotary cutter.
Line up your blocks so you know you'll be sewing them in the right direction. ;-) You want to sew the top 2 and then the bottom 2 together and press in opposite directions.
Then sew the rows together and then I press this seam open.
Viola! You love it, right?
I used the Essential Dots Bubblegum and Bella White for this and am just imagining what a rainbow of these bitty dotty blocks would look like.
Wait, didn't I mention a giveaway in the title of this post?! Well ... here's your challenge! Make a bitty whirligig block and share the link with us below.
Giveaway Details: Please share a link to a post that includes a block (or project including a block) made from this tutorial. Include in your post/Flickr photo description a link back to this tutorial post. Deadline to be included for the giveaway drawing is Sunday, 8/14/11 at 11:59 PM. We'll draw FIVE random winners to receive a $5 gift certificate toward anything at Sew Lux. International stitchers welcome. Winners will be announced here on the blog on Monday, 8/15/11.
Subscribe to:
Posts (Atom)