Showing posts with label Design Challenge. Show all posts

Monday, March 17, 2014

Design Challenge : Stephanie at Quarter Incher

Hey y'all!  I am really excited to introduce a blogger to you today as part of our Design Challenge Series. I "met" Stephanie through our Club Medallion BOM (she's been making a super awesome quilt with the PDF subscription!).  She's got a great sense of color and has an awesome project to share with you!  I asked Stephanie to tell us a little about herself and here's what she said ...


Hi everyone! My name is Stephanie and I blog over at Quarter Incher. I'm a native to the north San Diego area and can't bring myself to move! I promise I'm not too spoiled! I'm married to a wonderful man and have a spunky little girl who keeps me on my toes. I'm currently pregnant and due with a baby boy next month! I've been sewing for a little over 10 years with a gap in there somewhere. I learned most of my sewing skills from my mother. She's been quilting for over 20 years and has become my quilting buddy. It's been an awesome journey since I've started blogging. I'm always learning new techniques and meeting new people! It's been really fun so far!

What is your favorite sewing tool or notion? 
Currently, I'm loving the Clover Hera Marker! It's amazing at marking up quilting lines or Half-Square Triangles.

What kind of machine do you use? 
I use a High Speed Straight Stitch Brother Nouvelle 1500s and love it. It doesn't have all the fancy things the new machines have but it's fast. Faster is always better in my world.

What is your favorite color combination? 
What isn't my favorite color combo? I use so much color in my projects because it's too hard to pick only a few!

Check out Stephanie's version of our Club Medallion BOM! Read more about her progress here.  
(Photo by Stephanie of Quarter Incher.)

What is your favorite sewing supply/room organizational tip? 
I like to organize my scraps by size first then color. I use my scraps in 90% of my projects so they rarely ever get sorted into the color category. It's a good idea to keep them organized though.


- - - - - - - - - - - - 

Stephanie chose a great bundle for her project!  Run on over to see the tutorial for these super fun baby blocks!


Bundles available here while supplies last. 

Happy Sewing! :-)

Friday, January 24, 2014

Design Challenge : Tara at Mommy Head Adventures

I'm excited to introduce you to Tara of Mommy Head Adventures today as our newest Design Challenge blogger. I feel like I "know" Tara since she sews along with our Hop, Skip & Jump BOM and we chat alot on Instagram, so I am thrilled for you to get to know here a little too.  :)

Tara's Bio:
My name is Tara Cherry and I am from Carbondale, IL.  That is Southern Illinois, for those of you who just thought Chicago.  That is about 6 hours north of me.  I have been quilting for just over a year now.  I received my first inspiration from Hubby's great grandmother, who was one amazing woman.  The quilts we have around our home from her are exquisite, and I can only hope to be half as good as her some day.  I spend my time every day taking care of my 3 lovely children, Lilibeth (4), Ryan (3) and Benjamin (21 months) and making sure that my Hubby, Nathan, has all that he needs as well.  My blog, Mommy Head Adventures, is where I do my bidding when I have time.  You will find product reviews, my fitness journey on Wednesdays, and my quilting fun on Fridays.  When I get the time, I share about my adventures with my littles, but most of the time I am too busy doing the adventures with them to write about them.

What is on your "quilt bucket list?" 
Right now I am working on a Swoon quilt which I have always wanted to do.  After that, I am hoping to do all of the Farmer's Wife blocks in the Happy Go Lucky fabric I have been hoarding since it was released last spring.

What is your favorite sewing tool or notion?
My Bloc Loc ruler is my favorite!  I would not be able to do my half square triangles without it.  Thanks Chrissy for getting me hooked...

Where do you find inspiration for your sewing/quilting projects and what is your favorite color combination? 
I have to laugh a little at these questions.  My latest inspiration came from a pair of underwear I got my daughter for Christmas.  It is the most beautiful shade of light bluish teal with orange elastic.  It is what officially made me start my Swoon quilt since the colors were very similar to the Bluebird Park fabric I bought to make it.

Tara selected this fun bundle for her challenge.  They are available here while supplies last.


Stop by Tara's blog and to see her project tutorial.

Happy Sewing!  :-)


Friday, November 22, 2013

Design Challenge : Julie at 627 Handworks

Happy Friday!

It's time for a brand new Design Challenge interview & project.

We asked Julie over at 627 Handworks to come up with a bundle and project for us and I think you're going to love it.  But let's get to know her a little first ...

Julie's Interview: 

What is your most favorite quilt block of all time?

My favorite quilt block is probably the standard sawtooth star. I think it's classic and stands the test of time. Plus, it's so versatile!  You could make a dozen quilts using that basic block and come up with a dozen completing different looking quilts.

What was your first quilting project?

My first quilting project also happens to be my first sewing project!  Summer of 2010 I decided to bite the bullet, buy a sewing machine and learn everything I could about making a quilt.  Honestly, the internet taught me to sew.  The quilt was made using a charm pack with 4" borders in a Christmas theme.  I was instantly hooked and wish I hadn't waited so long to start sewing.
 
Where do you find inspiration for sewing and quilting projects?

I tend to browse the internet A LOT. Like, it's a problem. Flickr, Pinterest and even Instagram are great resources. I also follow hundreds of amazing blogs.  I don't think you can ever have too much inspiration. I subscribe to a couple of magazines but most of my projects and ideas stem from things I've seen online.

What is your favorite sewing supply/room organizational tip?

Right next to my cutting board I have 4 little baskets that hold different sizes of scraps from 2" square and up.  When I'm cutting my fabrics I can just toss the scraps in the baskets I go. Clean up goes much quicker and when the baskets are full I move the scraps into larger organizational bins.

Thanks so much for sharing a little about yourself, Julie! 

Check out the super cute bundle that Julie curated for us. A quilter after my own heart with the pinks, greens, and low volumes!  :-)


Lovely, no?  Order a bundle here and then hop on over to see Julie's tutorial for this cuteness ...


Every pup should have one of these for Christmas. :-)

Happy Sewing!  :-)

Wednesday, September 18, 2013

Design Challenge : All Squared Up by May Chappell

Hey y'all!  Today, we have a special bundle and project to share, but first let me introduce Lee of May Chappell.

I met Lee while at Sew South last year and we've since become friends.  She is super funny, has mad sewing skills, and is willing to unpick seams for friends.  :-)  I interviewed her so you could get to know her too.  :)

Lee's Bio ... 
Lee has been creating since she first discovered crayons at age 2! A seventeenth generation quilter (still working to confirm this;), she learned everything she knows from her mother, affectionately known as the guru. She loves all things fabric—from zippy pouch to queen size quilt—and everything in between. With a love of color and bold graphic shapes, Lee enjoys designing patterns and teaching all types of classes, while sharing her adventures on her blog, www.maychappell.com. She is a graphic designer by day and a sewist by night!

What is your favorite quilt block of all time?
That's a tough one! But it has to be log cabin. It's classic and so easy to change up. There are so many variations!!

What is on your "quilt bucket list"?
It's probably a shorter list to say what isn't on there! But my ultimate bucket list quilt is a queen sized Cathedral Window with all my favorite fabrics. Maybe someone out there wants to make it for me:)

What is your favorite sewing tool or notion?
I'm not usually that much of a notion person, but I have become quite obsessed with Bloc Loc rulers lately. If it genuinely saves time, I'm impressed and Bloc Loc rulers definitely save time!

What is your favorite sewing supply/room organizational tip?
I write my own selvage for interfacing, batting and solids. I write with a permanent marker along the edge as though it is a selvage with all the info I need to identify it.  (How smart is that!?!?!)

I asked her if she'd like to curate a bundle for a project and she agreed.  Here's what she came up with ...


Like?  Well,  check out this great project she made with her bundle ... the "All Squared Up" quilt.

You can score this pattern for FREE when you purchase her limited edition bundle.  (We'll email the PDF pattern to you within 24 hours of purchase.)

Stop on over and learn more about her "All Squared Up" project.

Happy Sewing! :-)

Saturday, August 3, 2013

Design Challenge Tutorial: "Wear & Wash" travel bag


Hello Sew Lux readers! I'm Nati and I blog over at Nati's Little Things about my sewing and crating adventures! Today I am very exited to show you my new little creation... the "Wear & Wash" travelling underwear bag. And I am delighted to be doing it as part of the Sew Lux Design Challenge series!


Although the picture is showing some bikinis (sorry was to shy to show undies in the picture!), I have tested the bag on a week away and it was great to fit my underwear and moving it from the "Wear" to the "Wash" pocket as I wore it.

So what do you need? First of all head over to the Sew Lux Fabric shop and order the gorgeous fabric bundle that I curated, including lovely flowers in oranges, red and pink! Then get some batting, two 12 inch (30cm) zips and some lining fabric, a little light weight interfacing and embroidery thread.


Start by making a simple patchwork with 5 of the 6 fabrics in the bundle. I used 4.5 inches squares to make a 3 by 5 patchwork to finish with a 20.5 by 12.5 piece. Then I sandwiched it with the batting and lining and pinned it ready for quilting.


Next quilt it. I did straight line quilting with my walking foot at 1/4 inch from the seams. Once all done, trim the excess of batting and lining fabric and square up. Then you can move up to working on the inside.


The picture above shows how the pieces will be placed. I cut two 4 x 12.5 pieces of white lining (but you could also use any of the prints from the bundle) and one 12 x 12.5 piece of the extra fabric that wasn't used in the patchwork piece.


To attach the zips, place one facing down on top of the bigger piece of fabric along one of  the 12.5 inch sides. Pin it in place (you can help setting it in place by using some glue as well) and sew along using a zip foot.


Turn and iron the seam well. Be careful not to use too much heat near the zip teeth. Then sew the lining fabric by placing it right side down on top of the zip and sewing along with your walking foot.


Then sew the other zip following the same steps. You should end up with something like this:


Trim the inside piece to the same size of the outer piece.


With both sides together, sew along all sides of the rectangle leaving just a small opening for turning. Turn inside out and sew along the sides of the piece with a 1/4 inch seam. Finally to create the two pockets sew a line of stitches along the centre of the rectangle. 


Then we are going to label the pockets (this step could also be done with the inside piece before sewing the bag).  But you need to feel comfortable that you can place it in the right position!


Using the template (free download here) transfer the image to the each pocket. I used a water erasable fabric marker. With little scraps from the fabrics used prepare the thick letter parts for appliqué (I have a handy tutorial here). This step is optional and you could just embroider all around the letters.


I then finished the appliqué with back stitch all around! And voilà, you are ready to go on a trip taking your undies in style!


And because I still have a little fabric left... watch out for a few other travelling accessories that I am planning on making soon!

Friday, August 2, 2013

Design Challenge : August's Feature Designer


We're really excited to bring you a new Design Challenge project this week.  Let's get started by meeting our designer - Nati from Nati's Little Things!


My name is Nati, I am Argentinian but have been living in Europe for 6 years now. I live with my husband who is English and our little French born Yorkie in Luxembourg (that tiny little country squeezed in between France, Belgium and Germany). I have started quilting over a year now but have been sewing and knitting since I was a little girl and spent all afternoons with my lovely grandmother who taught me how to make clothes for my dolls. I love to make quick and useful projects for me and my loved ones and quite a few for charity.

What is on your quilt bucket list?

I have a general craft bucket list where I have lots of projects I haven't yet made, some even because they wont even fir in my current flat and are waiting for us to some day move to a bigger house to materialise... But currently there is a quilt I had to pick all the quilting as it wasn't nice and I need to find the courage to try quilting it again. And I would love to make a huge quilt with half square triangles some time.

Where do you find your inspiration for your sewing/quilting projects?

Everywhere and in the most unexpected places. I made a counted cross  stitch for a friend inspired in the plates from a museum coffee shop... So really anything can be of inspiration.

What was your first quilting project?

My first quilting project is the quilt in the picture that was sent to the charity I help in Argentina. It is now with a girl that had major surgery to be able to walk. It was a very emotional quilt to make and knowing that she has it and loves it makes it all more special. 


Stop by tomorrow to see what Nati made with this fun bundle

Happy Sewing!  :-) 

Friday, June 7, 2013

Design Challenge Tutorial: Portable Change-Pad with Built-In Wet Bag


This post is part of the Design Challenge Series here at Sew Lux Fabric. 
See all the previous blogger interviews and tutorials here.


Hi all! My name is Erin, and I blog over at Sew at Home Mummy. I'm really excited today to share with you how to make an 'on-the-go' baby change pad with a built-in wet bag. I used the six colors in my custom fat quarter bundle to create a scrappy, sassy look! 


Materials:
- 6 FQs for a scrappy look  (you can pick up the bundle I used here)
- 1 yard coordinating oil cloth
- 1 yard craft-weight fusible interfacing (20”-25” wide)
- 1 12” coordinating zipper
- 1 piece sew-in Velcro (approx 1” square)
- 1 old, clean yogurt/sour cream container
- 1 package of double-fold bias binding (3 yards) 
- 1 package of magnetic snap (for purses and totes), ½”
- fabric marker
- Machine needles: 1 quilting or universal needle for piecing; 1 denim or leather needle
- Machine feet: ¼” quilting foot;  zig-zag foot; zipper foot


Cutting Instructions:
Oilcloth:
     - cut 1 piece 9.5" x 13"
     - set remainder aside for cutting later.

Strips:
-          from main fabric, 4 strips 20” x 2.75”
-          from each of the 5 coordinating fabrics, 2 strips 20” x 2.75”
-          from main fabric cut 2 strips 3” x 1.5”
-          from main fabric cut 1 strip 1.25” x 10”; press under both end edges ¼” ; press under one long edge ¼”

Interfacing:
-          Piece A: 4.5” x 11.0”
-          Piece B: 3.75” x 11” (CUT 2)
-          Piece C: 11” x 6”
-          Piece D: 11” x 1”

Sewing Instructions:
Piecing the Outside/backside (1/4” Seam Allowance):
1)      sew two strips, end to end. Press seam open. Trip strip set to 28.5” long. Set aside.
trim strips to 28.5"
2)      taking the piece you just trimmed off the end, sew it to another full length strip, end to end. Press seam open.  Trim to 28.5” long. Set aside.

3)      Repeat step 2, until you have a total of 5 strip sets.

4)      Organize your 5 sets on your design wall or table in a orientation that’s pleasing to you
arrange strips in pleasing order
sew strips together, alternating starting ends of seams to avoid warping. Press seams open.

5)      Select 2 remaining strips and sew together lengthwise; press seams open. Trim to 11.5” long. Repeat to make second 11.5” long strip set.
make 2 11.5" strip sets

6)      Measuring and marking 5” from the bottom on both sides of the larger strip set, align the shorter strip sets, right sides together, pin. Sew, back-stitching at both ends. Press seams towards smaller flaps.
align smaller strip sets 5" from bottom on either side.
Pin in place. Sew. Press seams towards smaller set.
flaps sewn on.
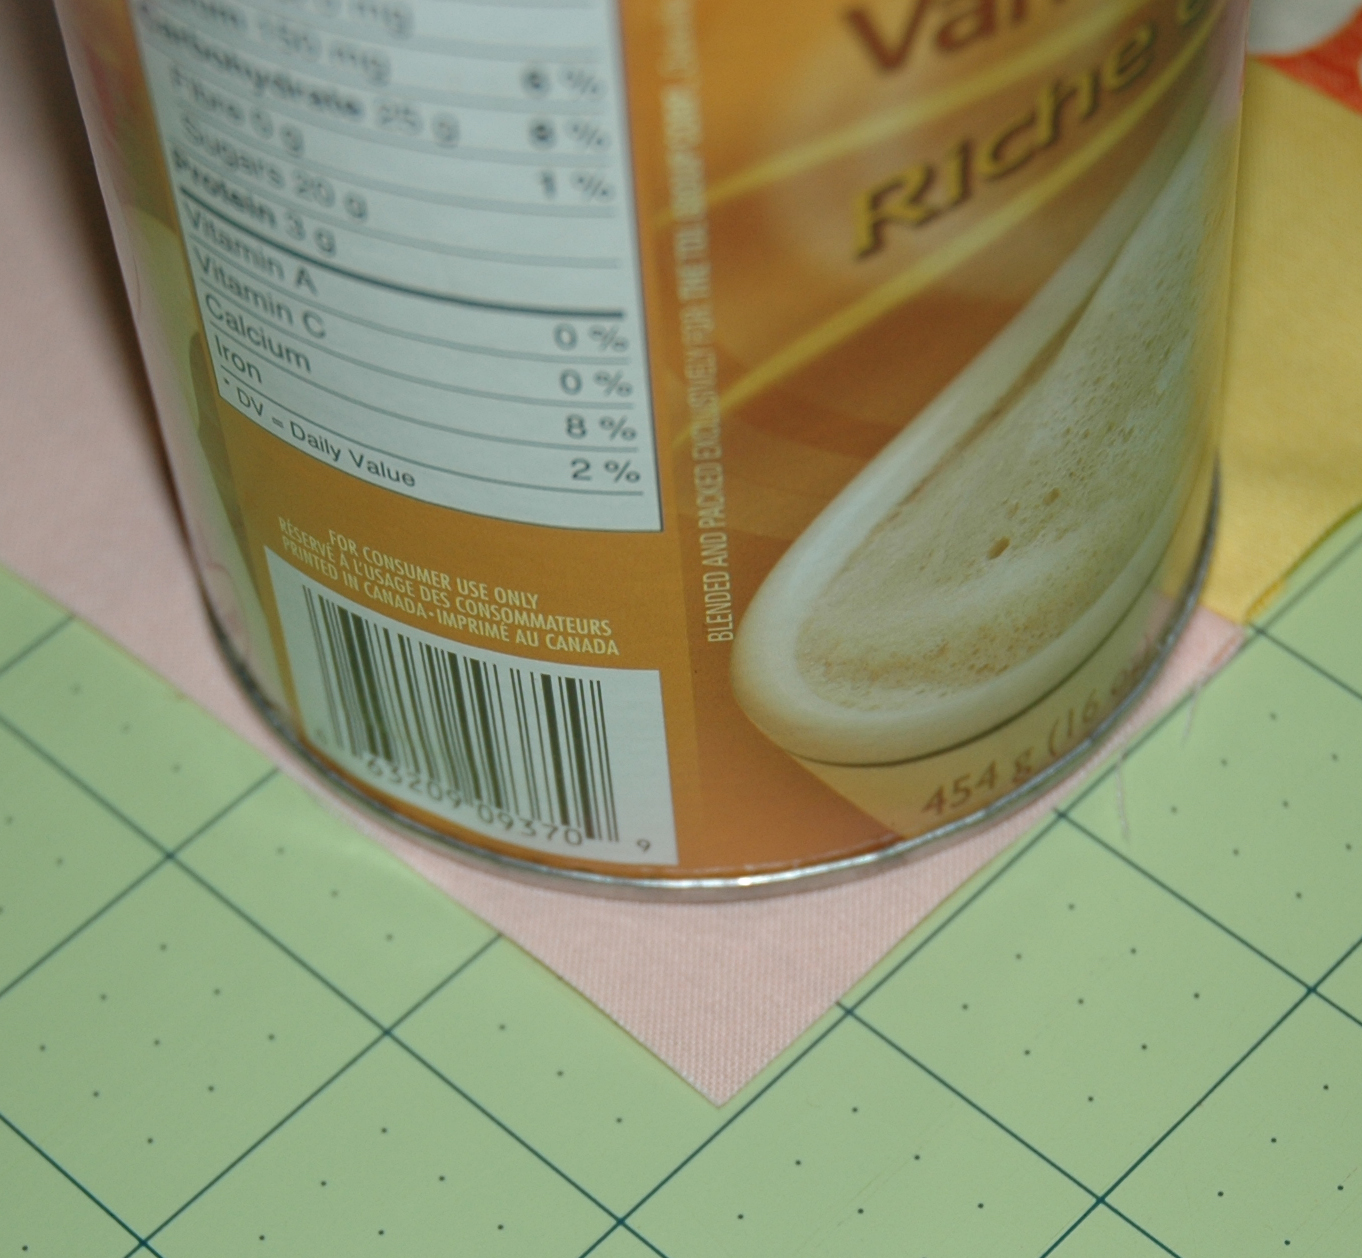
7)      Taking a small mug or coffee tin, draw rounded corners at each corner. Trim.
draw rounded corners on each corner
trim.
8)      Measuring 12” from the bottom of the change pad back, draw a centered straight line with your fabric marker, 9.5” long.  Cut along line, creating a slit.


Attaching interfacing:
***Please attach interfacing according to manufacturer’s instructions.***
1)      Attach Piece A to the bottom end of the change pad, trimming corners to fit, affixing it approximately ¼” from the bottom edge
2)      Attach Pieces B to each of the side flaps, trimming corners again as you did in 1), affixing approximately ¼” from the side edges.

3)      Attach Piece C ½” below the slit opening you made above.

4)      Attach Piece D ½” above the slit opening you made.

5)      Attach Piece E about 1/4” above piece D.

6)      Attach Piece F about ¼” from the upper edge, trimming corners as you did above to fit.
what all of your interfacing attached should look like.


Inserting the Zipper:
1)      take 3” x 1.5” strips and fold over long edge ¼” and press.
x 2
2)      press strips in half.

3)      Place zipper in fold of strips, with one folded strip's pressed edge about 9” from the beginning of the zipper pull on one side, and the other right up against the beginning of the zipper pull on the other side. Sew in place about 1/4" from folded edge.

4)      Fold back fabric and trim zipper along ¼” seam lines on both ends.
5)      Trim tab even with zipper edge.
trim zipper tabs on both ends even with zipper tape top.
SWITCH TO DENIM OR LEATHER MACHINE NEEDLE.

6)      Pin, in order:
          a.       Changepad backside, along lower slit, right side UP
          b.      Zipper, closed pull to left, bottom zipper tape face DOWN
          c.       Oil cloth (13” x 9.5” piece) right side DOWN.

7)      Sew with zipper foot, close to teeth. Back-stitch at each end; you may need to move the zipper pull out of the way while sewing.
FUN! You get to use your super-cool zipper foot ;)
8)      Turn oil cloth to wrong side of change pad (stuff it through the slit opening); finger press to back. Top stitch the oil cloth in place, close to zipper.

9)      Then, pin in order:
       a.       Oil cloth, right side UP
       b.      Zipper TOP, right side UP
       c.       1.5” x 10” pressed strip, right side DOWN, aligning raw edge with zipper tape       edge (keeping the pressed edge free).

10)   Sew using zipper foot.

11)   Lay pad back flat on a table; fold pressed strip back and align with remaining raw edge of slit; pin, sew, top-stitching about 1/8" from edge of strip around the entire perimeter.
fold the strip back toward the remaining slit raw edge, while keeping the change pad as flat as possible on the table. Pin the pressed folded edge of the strip over the slit raw edge.
top-stitch around outer edge of strip.

12)   Flip change pad over to wrong side; sew oil cloth pouch, right sides together up sides of pouch.
sew up both sides of oil cloth, creating pouch. Careful not to catch any of the front change pad in the seam.

Attaching your Velcro tabs:
1)      Using one of the leftover 2.75” strips, create a double folded strip. Sew down the center of the strip to secure.

2)      Cut strip in half; to right side of one change pad flap, pin one sewn strip approximately 1.5” from edge, with majority of strip facing towards center of change pad, away from edge. Zig-zag raw edge in place.
zig-zag raw edge in place
3)      fold the strip back over on itself, covering up the zig-zagged edge and overlapping strip by about ½”. Sew in place with an 'x' in box-type stitch to reinforce
reinforce tab with 'x'-in box type stitch
4)      Repeat for other side flap.

5)      trim right side strip to 4” ; trim left side strip to 4.25”.

6)      Zig-zag raw edge of right strips. Trim Velcro pieces to width of strips.
trim Velcro to fit
7)      Folding over zig-zagged edge ¼”, pin in place; pin Velcro piece over top of raw edge. Sew in place.
pin Velcro over folded zig-zagged edge.
sew Velcro in place
8)      Repeat for left side, ensuring the your Velcro pieces will over lap
NOTE: One strip will have the Velcro on top of it, the other on the bottom.


Cutting your Oilcloth:
1)      Lay your oilcloth RIGHT SIDE UP on your cutting mat (you'll find it much easier to cut this way - the under side of oil cloth is quite slippery).

2)      Lay your change pad backside RIGHT SIDE DOWN on top of the oilcloth.

3)      Oil cloth is notorious for pin holes that don’t heal...so, we can’t pin it together. Lay some heavy stuff on top of the pad to stabilize it for cutting. If you have heavy bean-sacs for quilting these would work great! (I just used what I had kicking around).
weight your pad down on top of the oil cloth
4)      VERY carefully, cut the oil cloth, using your pieced back as a guide. (PICTURE)
oooh.... pretty....

Inserting the Magnetic Closures:
Pieced Backside:
1)      measure from the bottom of the backside of the pad 9” centered; mark with fabric marker.

2)      Remember that old yogurt container I mentioned? Cut (from the lid or flat portion) 2 pieces, approximately 1-1.5” square (roughly) and round/smooth edges. (PICTURE)
reduce, reuse, recycle! 
3)      Now – install your magnetic closure (female piece) at the mark, following the manufacturer’s instructions. Use one plastic cut out as the back support (the instructions on the packaging say to use cardboard; if we want to be able to wash this, we’ll need something more water-proof, like plastic)
yogurt container piece used as support. strawberry? YUM!
Oil Cloth Inside:
1)     Place mark on the RIGHT SIDE of the oil cloth cut out: centered, 1.5” from TOP of change pad.
right side, from top: mark 1.5" down, centered.
This is where you’ll insert the second half of the magnetic closure (the ‘male’ piece).

2)      Repeat steps 2 & 3 above.
magnetic closure inserted on top section of inner pad

Let’s stop here and give the cotton part of the change pad a good hot press, careful to avoid any oil cloth with the iron.

Finishing your Changepad
1)      Since we have already established you can’t use pins with oil cloth, pull out your basting clips!
a.       Layer:
                                                               i.      OILCLOTH right side DOWN
                                                             ii.      Back pieced right side UP (pouch facing to bottom)
                                                            iii.      Pin back your Velcro tabs to your fabric only (so as not to catch it in binding)
b.      Clip baste in place, smoothing fabric flat as you go.
2)      Zig-zag raw edges together.

3)      Attach double-fold bias binding.

You're done!
To fold your change pad:
sides flap out for extra protection; the oil cloth is easily cleaned if baby makes a doo-doo!


folds compactly and will slide into the side pouch of most diaper bags for easy access!


a small pack of wipes and a couple of diapers fit nicely in the backside pouch;
and, the pouch is water proof - in case there are any messy accidents! 
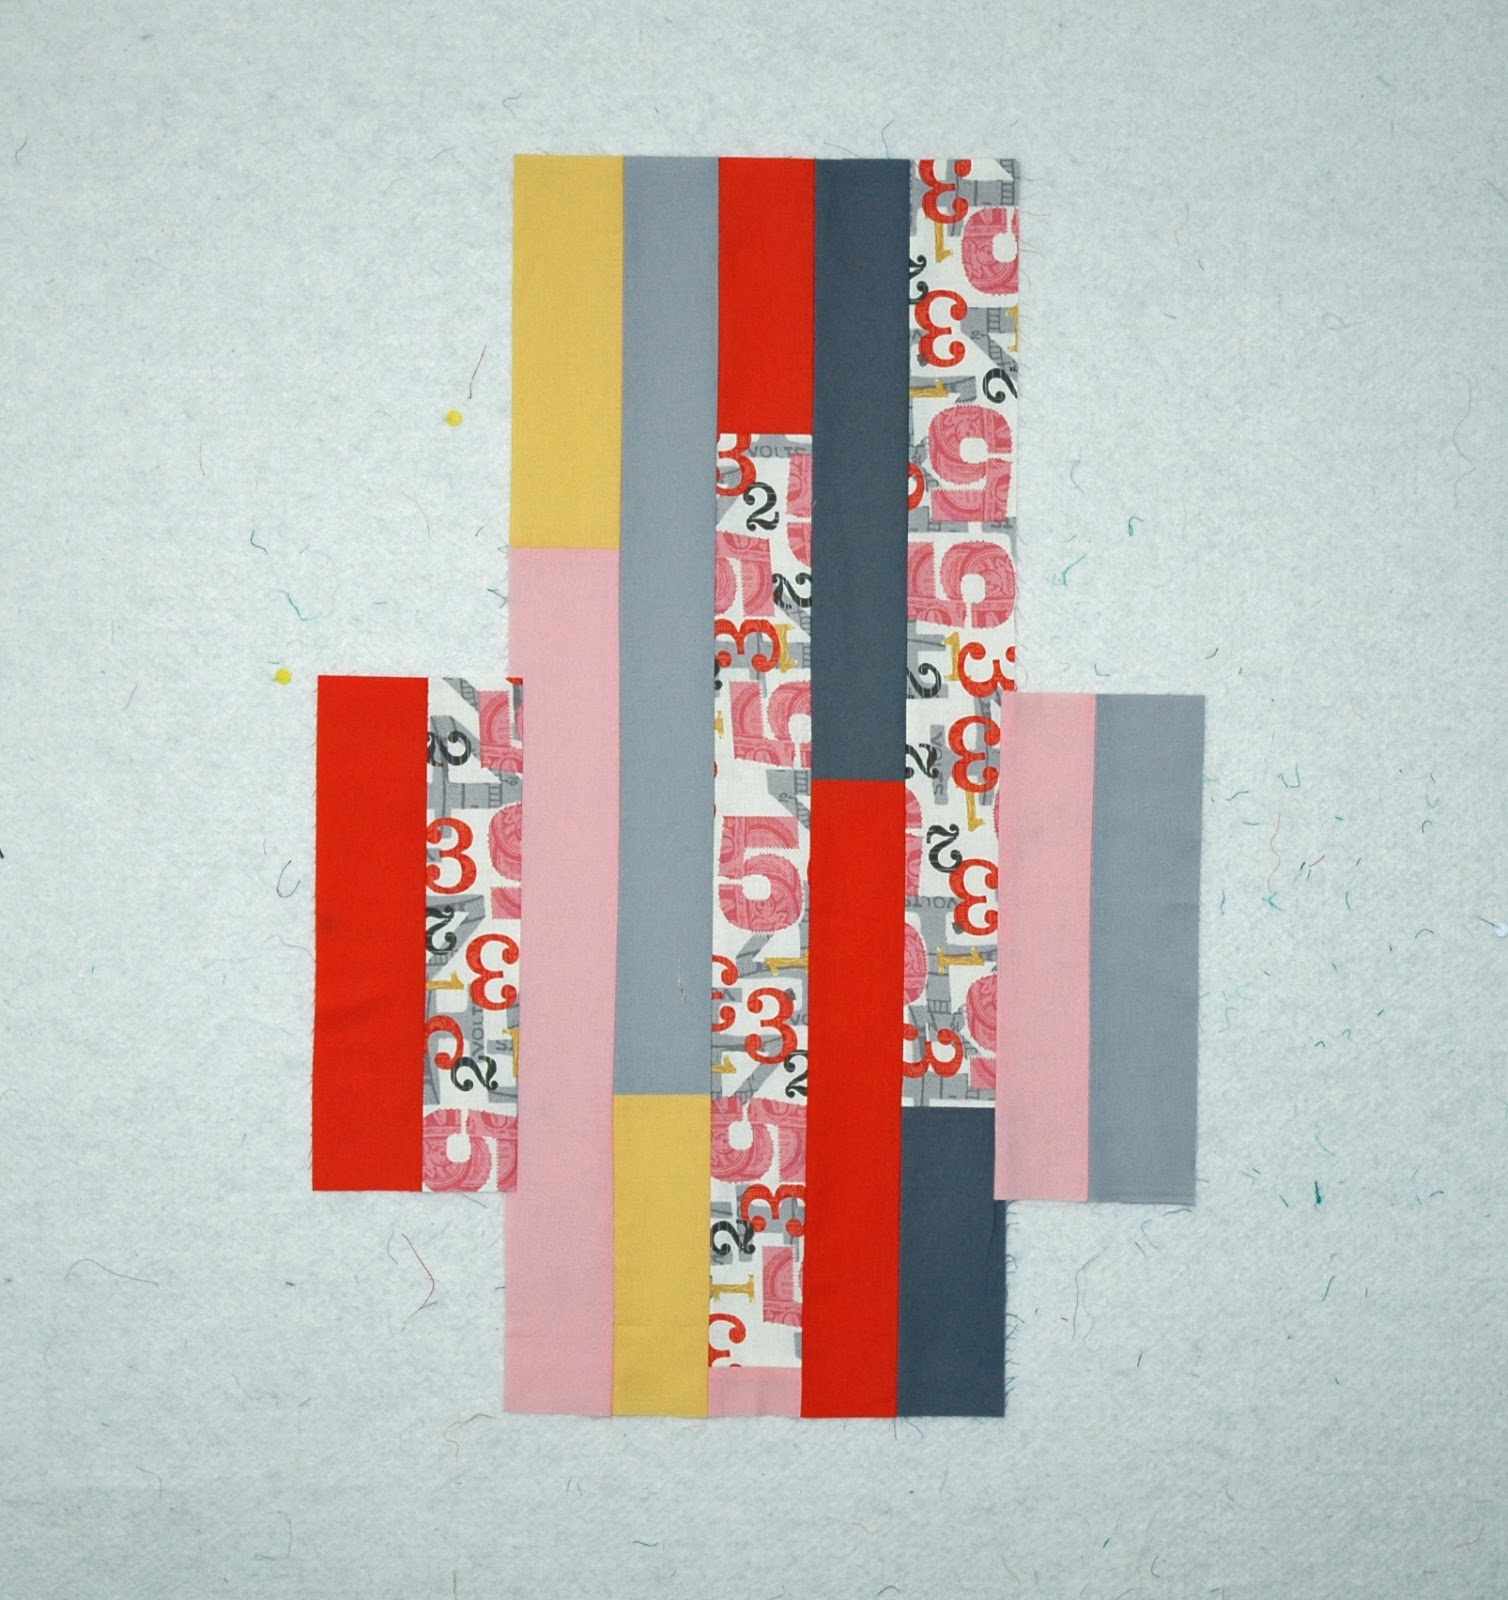
Thanks for letting me share my tutorial with you today, and a special thanks to Chrissy at Sew Lux for inviting me to do this challenge!

Happy quilting!

Erin