Monday, June 6, 2011

Charming Crosses Tutorial - Part 1

Hi and happy Monday!  I'm back today to share the process for what I am calling the Charming Crosses blocks for the wall hangings/table toppers I am making from the Flurry charm pack. Are you ready?

Just to recap, I am making TWO wall hangings/table toppers from 1 charm pack with some yardage added into the mix.  The one will measure approx. 20" x 40" and the other will measure approx. 34" x 34". 

For the square version, you'll need:
  • 24 - 5" squares
  • 1/4 yard white (or other neutral for sashing)
  • 1/3 yard coordinating print for inner border
  • 1/2 yard coordinating print for outer border
  • 1/3 yard for binding
  • 1 yard for backing
For the rectangle version, you'll need:
  • 18 - 5" squares
  • 1/4 yard white (or other neutral for sashing)
  • 1/2 yard coordinating print for border
  • 1/3 yard binding
  • 1/2 yard for backing (we'll piece this a little) - or 1-1/4 yard
Step 1: Sort your charm squares into two groups - one set of 18 for the rectangle version and one set of 24 for the square version.  For this project, I am doing blue/green for the rectangle and red/green for the square. 

Step 2: Sort each collection of charms into sets of 3.  One of the three charms in each group should be a contrasting color/print.  You'll need two sets of 3 charms to make one finished block.

Step 3:  Slice 2 charms (the pair, not the contrasting color one) in half.  I do mine with a little bit of wonkiness. :)  Perfection isn't required here!

Cut the contrasting color charm into 4 strips - again you can eyeball these or measure perfection here.

Step 4: Stitch a contrasting strip to one half of a charm.  Then add the other half of the charm.  You'll end up with a striped block.  Press seams - I pressed mine away from the center strip.

Then cut that block in half again, this time in the opposite direction, as shown.  Again, I did mine with a little bit of wonkiness. 
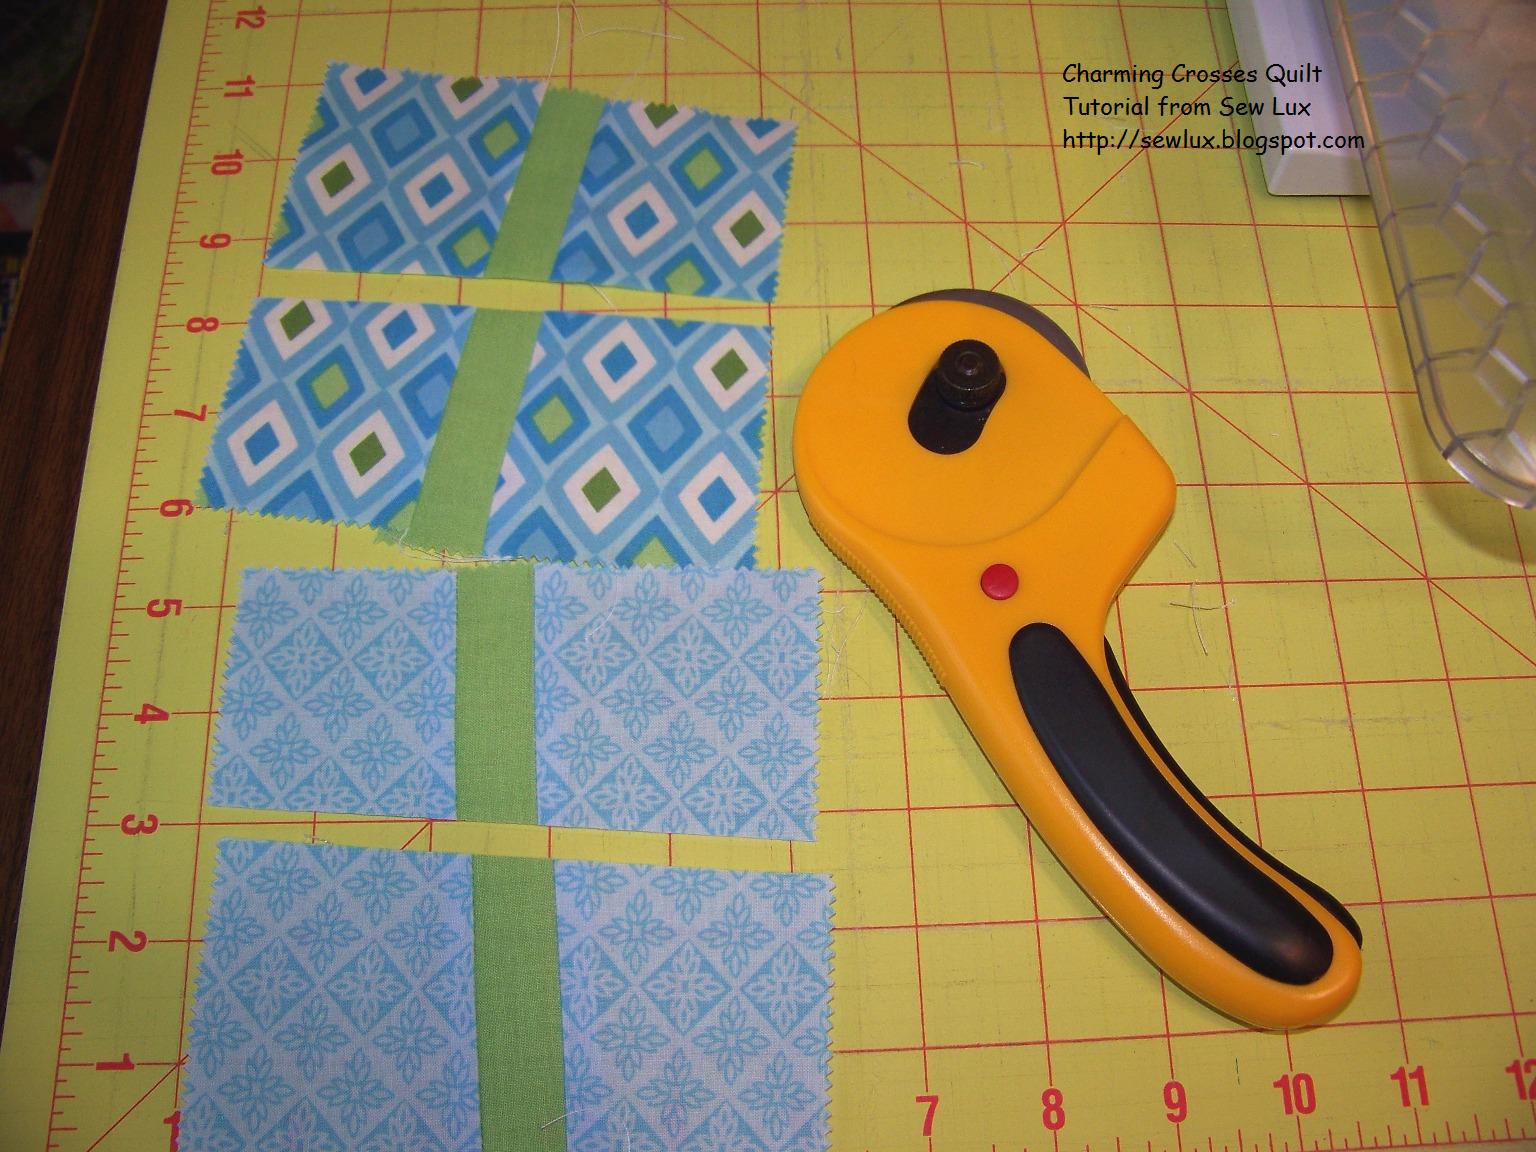
Step 5: Repeat step 4 to add a new stripe and join the halves back together. Press toward the newest center strip.  (See below.)

Step 6: Trim your finished block to 4-1/2" square.

Step 7:  Make the rest of the blocks from your two sets of 3 charms (see step 2). You should have 4 blocks like this.


Step 8: Join your blocks together. First join the two in the top row and then join the two in the bottom row.  Then join the rows to make a 2x2 block.


Step 9: Press and admire your work! :)

That's it!  Very easy and quicker than you think, I promise!

For the rectangle verison, you'll need 3 finished 2x2 blocks (measuring 8-1/2" square).  For the square version, you'll need 4 finished 2x2 blocks.

On Wednesday, I will show you how we'll assemble this all together to make the top.  In the meantime, if you have any questions, please let me know here in the comments or on the Sew Lux Flickr group page.

Happy Sewing!

Sunday, June 5, 2011

Grab a Charm Pack!

Hi y'all!  We're winding down the weekend here.  We celebrated my husband's birthday yesterday and then hung around the pool today.  While we floated around, my mom and I also planned out some great sales and promotions for the summer, so be sure to get signed up for the newsletter!  :-)

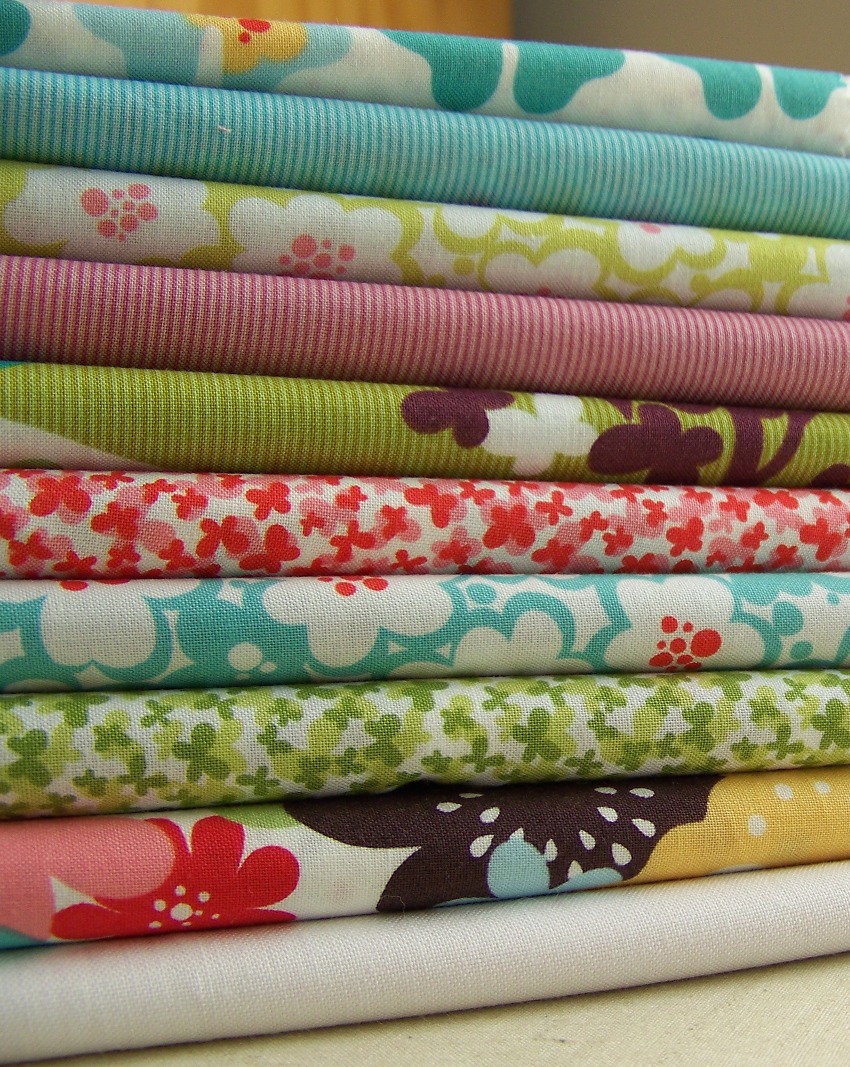
I've been dreaming of how to use my Flurry charm pack and finally came up with a plan!  :-)  I love the bright colors and modern prints despite the fact that I decorate for Christmas in burgundy and gold!  This weekend I sketched out a plan for, count 'em, TWO wall hangings (or table toppers/runners) from one charm pack plus a bit of yardage.

I got to sorting tonight and took some photos of my process for the block design and I'll be sharing the tutorial tomorrow.  I have a series of posts planned for the week so by this time next week, you'll have all the directions you need to create this project.  If you'd be interested in a kit, please let us know in the comments and I'll add one to the shop!

See ya tomorrow!

Happy Sewing!  :)

Saturday, June 4, 2011

Bundle Up

Hi everyone!  Hope you are having a great weekend! :-)

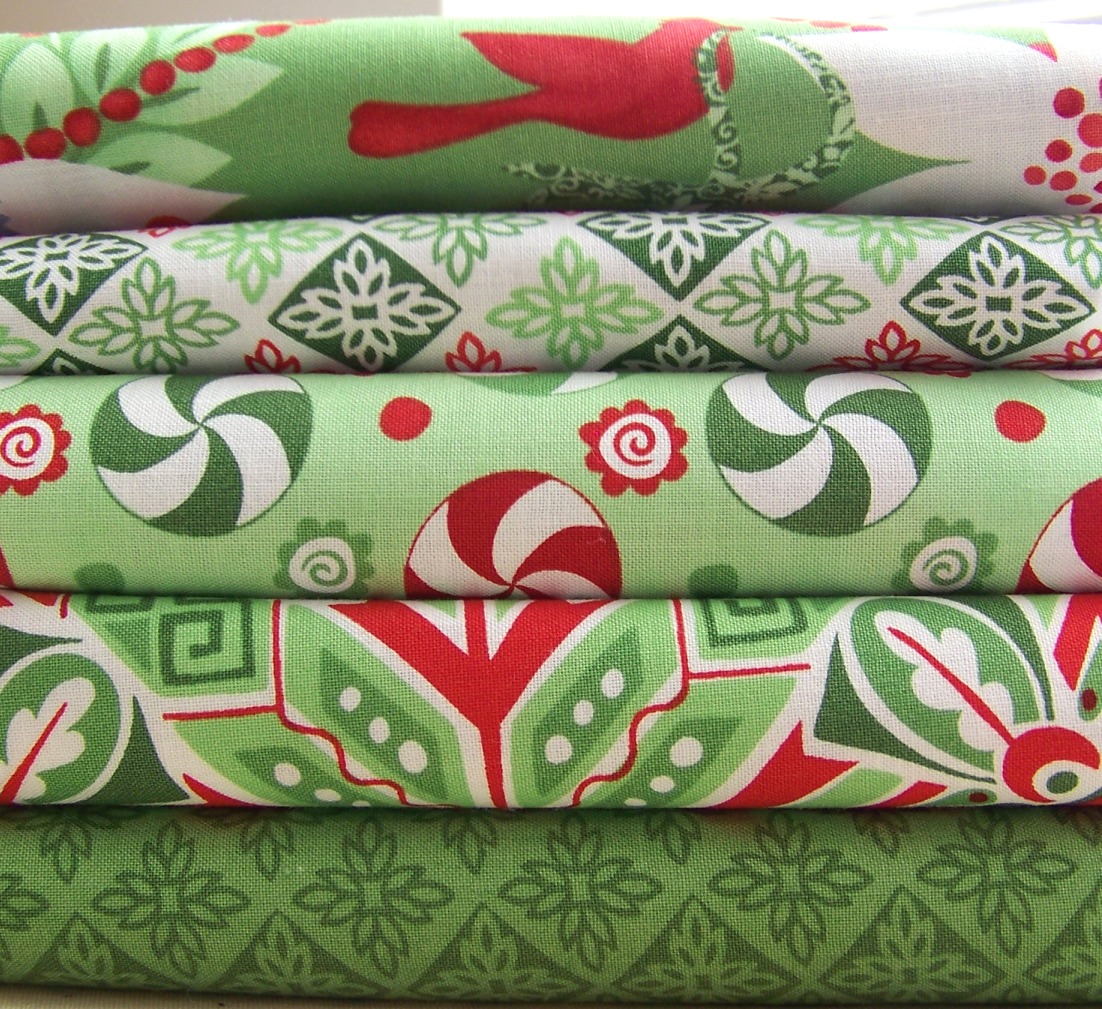
It's been pretty warm here, but this new Flurry line by Kate Spain has me dreaming of Christmas crafts.  Check out these bundles ...


I've got some projects in the works with these lovelies ... stay tuned! :-)

Happy Sewing!

Friday, June 3, 2011

New in the Shop!

Happy Weekend!

We got another delivery from brown today full of charm square packs.  Lots of Bella White Bleached and two NEW collections ...

Dogwood Trail


And Summer House (my favorite)!


Check out all of our precuts here. And in case you are wondering, Dogwood Trail and Summer House yardage is expected in July, although I heard they are trying to get Dogwood Trail out in late June.  We'll keep you posted, of course!  If you are interested in preordering yardage in either of these collections, please email us at sewlux(at)gmail(dot)com.

Happy Sewing! :-)

Customer Spotlight: Toni

Happy Friday!

Toni of Tiny Lil Stitches was sweet enough to contact us and share a project with us using the Sunkissed prints she recently bought from Sew Lux.  I was excited to see this cute table runner she made (as well as to hear how quickly it sold in her shop)!
Thank you so much for sharing with us, Toni!

If you have a project you've made with fabric from our shop, we'd love to share it here on our blog.  Please email us at sewlux(at)gmail(dot)com with your project.

Happy Sewing! :)

Thursday, June 2, 2011

Nature Blocks

Hello, hello! Friday is almost here and I am looking forward to the weekend ... how about you?  It's been a busy week at Sew Lux - we've been cutting kits and packaging up lots of orders.  :-)  We're also planning some projects for collections that are coming soon. I will share more about those next week!

I wanted to share some cute nature-inspired blocks I made for another quilting bee that I am in via Flickr.  I had a ball making these.  I think this tree is my favorite ...

I used some Just Wing It Minis Leaf for the leaves and the Houndstooth Chocolate for the trunk (all on Bella White of course).

But this mushroom sure is cute too ...

I used some prints in my stash for this little guy.  I am actually kind of suprised at myself for making a mushroom ... not a fungus fan! :-)

Do you do machine applique? If y'all would be interested in a tutorial or two on this technique, let me know and I'll work on putting one together for you.

Stop by tomorrow for another Customer Spotlight! :-)

Happy Sewing! :-)

Wednesday, June 1, 2011

May FQ Promo Winner and Updates

Just stopping in to say congratulations to Janelle J. who won our Free FQ Promo for the month of May!

Also, did you see that Jennie has posted cutting instructions for the Just Wing It Stitch and Quilt Along?  I'll be slicing and dicing my fabrics this week!  We have just a couple FQ kits left for this project.  And we've restocked our Perle Samplers as well.  C'mon and join the fun ... you know you want to!

Thank you to those of you who've taken our survey (secret word is "sewlux")!  We really appreciate your feedback. :)  I will be emailing those of you who responded tomorrow evening with a special coupon code ... so be on the lookout!

Happy Sewing! :)