
First, once you've finished piecing the top, you'll want to press it well before sandwiching your quilt together. If you are doing the fat quarter version (started with 8" squares) or the charm version, you won't need to piece the back of your quilt. Just layer the backing (wrong side up), batting, and then quilt top (right side up) and baste using your favorite method. If you are doing the layer cake version (10" squares), you'll either need a 1-1/2 yard backing or you can piece it. I am still working on my layer cake version, but here's an illustration for you. (Click on the photo to enlarge it.)

I prefer to baste my quilt with safety pins. (I do want to try spray basting at some point, but haven't gotten any spray adhesive yet. Any suggestions?) I knew that I wanted to quilt down the seams, so I chose to pin along the diagonal seams so I wouldn't have to stop quilting to move pins. :) Here's a closer view of my basting.

Here's my quilt all basted up ... I took it outside for better lighting. I definitely don't recommend basting on your concrete porch! :-)

Ok, so let's get to quilting. I am giving directions for straight-line quilting in a grid-like style, using the seams as my guide. I like this style for these pinwheel quilts and straight-line quilting gives a nice drape to the quilt. You could free motion or stitch along the diagonals or whatever you like. When straight-line quilting, I HIGHLY recommend a walking foot. They are fairly expensive, but I think it makes a BIG difference.

Also, I like to LENGTHEN my stitch length. I think this helps a lot! Another tip ... start with a full bobbin so you don't have to stop in the middle to change that out!

Now, just use the seams as your guide. I line up the edge of my foot with the seam and follow it down the length of the quilt. Work you way down the right side of each seam, moving across the quilt from right to left. Then flip the quilt around and repeat the process to come back down the other side of each seam. Then start on the horizontal seams. Same process ... keep on stitchin'. I like to roll the edge of my quilt to help move it along through my machine as I get more quilt to the right side of my needle.

Look at that! It turned out so nice! Go ahead and press your quilt (after you remove pins, of course).

Square up your quilt. Careful to keep your slices nice and straight along the sides. (Tip: Sometimes if part of your quilt is hanging off the table, the edge of your quilt isn't truly straight laying on the table since the weight of the piece hanging off is pulling on it a bit. So make adjustments as needed BEFORE you slice.)

Let's get some binding ready! I am using a double-fold, straight-grain binding (as opposed to a bias binding) because I'm not planning to bind any curves. Making binding is pretty easy ... start by cutting strips. I like to cut my binding strips 2.5" inches wide. Some folks like 2.25", for me its a little tight. But do what you like. :) Measure all 4 sides and add several inches to figure out how many WOF (width of fabric - usually about 42/44") strips you need to cut. For the FQ version, I cut 4 strips. To join the strips, you'll need to lay them perpendicular to each other and stitch along the diagonal.

Press your seams in the binding. Continue joining all the strips together to get one continuous piece.
Fold your binding in half and press it. Here's my binding (rolled just for this post! :-)

Start about 12 inches from the bottom of one side and lay your binding down on the edge of your quilt. You may pin if you like, I don't pin for this. Use your foot to maintain a 1/4" seam allowance, leaving several inches of binding unstitched behind your starting point. (Again, I prefer to use a walking foot and a lengthened stitch for this.)

As you approach the corner, slow it down and stop and backstitch 1/4" from the edge.

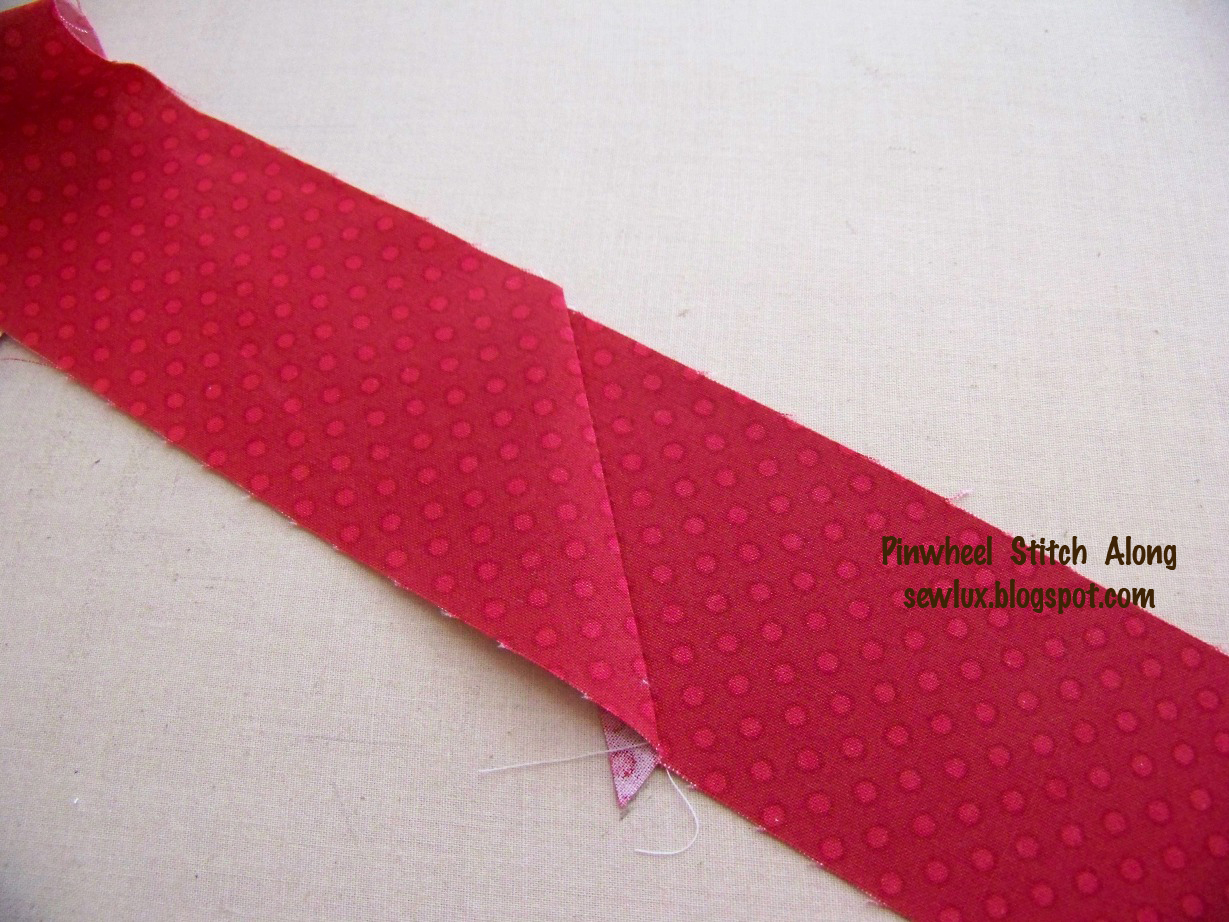
Fold your binding up and then back down to lay in line with the edge of the next side of the quilt. You'll have a little triangle-shaped fold in the middle like shown here.

Stitch from the edge of this side, backstitching at the top. And keep working your way around the quilt.

When you get close to where you started, trim off some of the excess and fold your binding in and tuck the starting end into the fold. (My photo probably shows it better than I'm saying!) Stitch across the seam and backstitch again to secure it.

Now, press your binding open. Looks good, right?!

Some folks like to machine stitch their binding to finish it. I prefer to hand stitch it to the back. Partly because I think it makes me feel like its more "hand-made" and also because I just prefer the look of a nice hand-stitched binding. I use a basic slip stitch and I wanted to show how I do my corners. (No new or earth-shattering technique, just pictures for you if you're new.)
As I work my way toward the corner, I stitch up into the corner before folding over the top side.


Here it is pinned so you can see a little better how it will look.

So, have a seat on the couch and stitch away y'all! I will share my layer cake version and my finished binding later this week.
As always, if you have a question or need more clarification on a step, please leave a comment and I will be happy to help out!
Happy Sewing! :)
This is really helpful. I found your site trying to find an alternative to spray adhesive. Yours is the only site that came up. I'm so glad I found it. The spray adhesive nearly turned me off of the idea of quilting. Your pictures are great and very helpful!
ReplyDeleteThank you!
I hate the basting spray, I made 3 sewing machines qulk-up, trying to finish a baby quilt, My Quild showed a demo, but most people that tried it, wouldnt do it again. I know I want.
ReplyDelete