

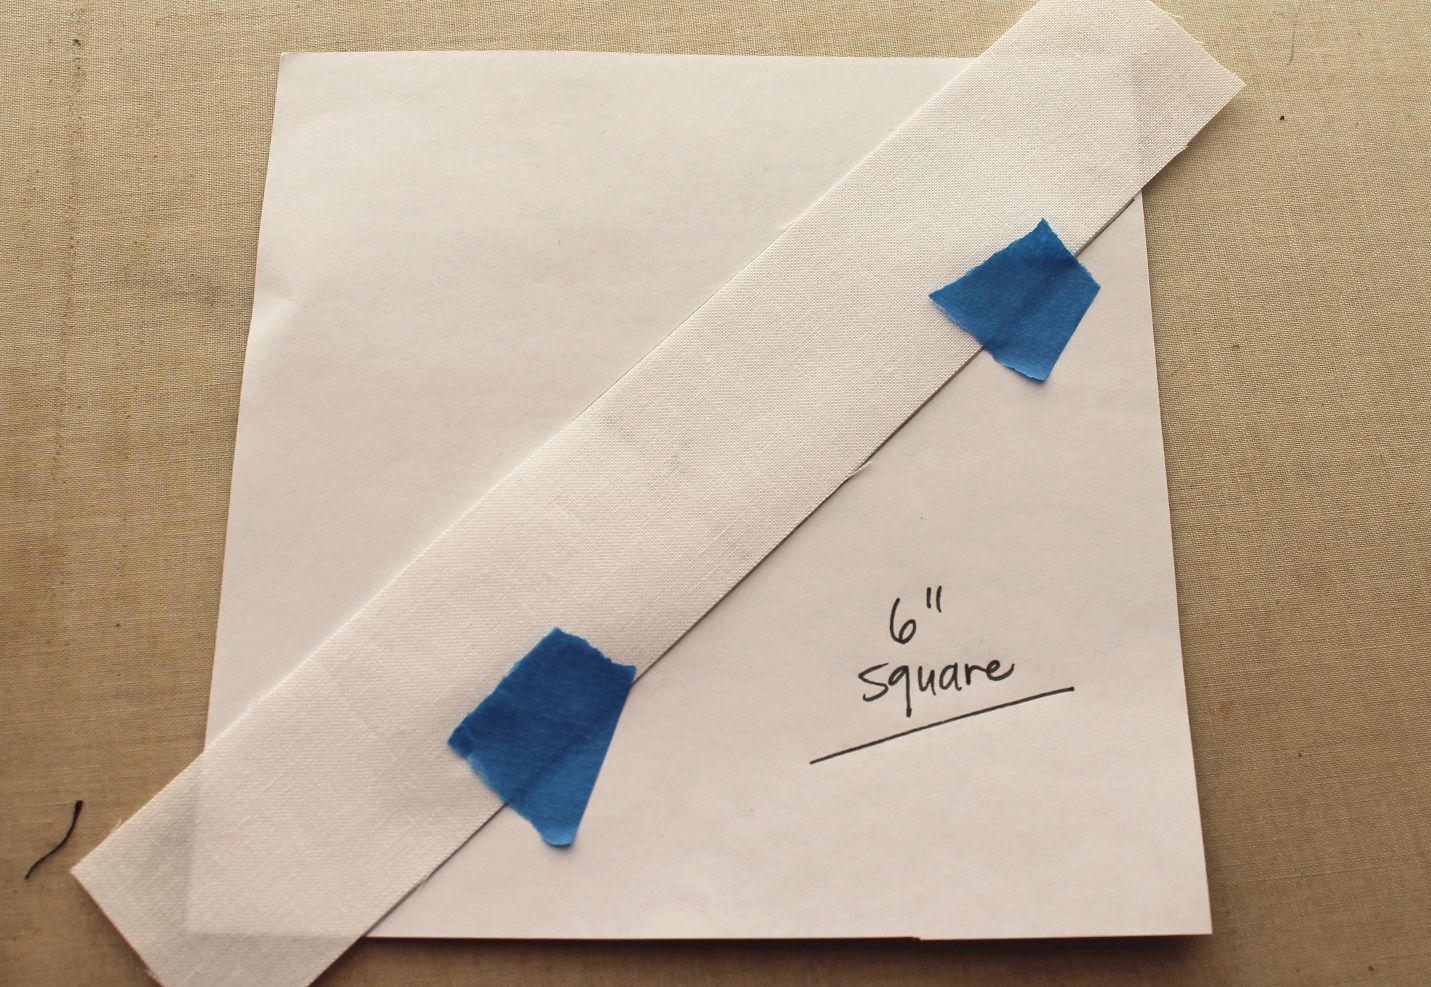
For each block, you'll need a 6" square of relatively thin paper. I am using some scrapbook paper here, but will also use notebook paper, etc. You'll also need one 9" x 1.5" white solid strip of fabric. And assorted scraps - strips ranging from 1" wide and larger. I am aiming for 3 strips on either side of my center strip.
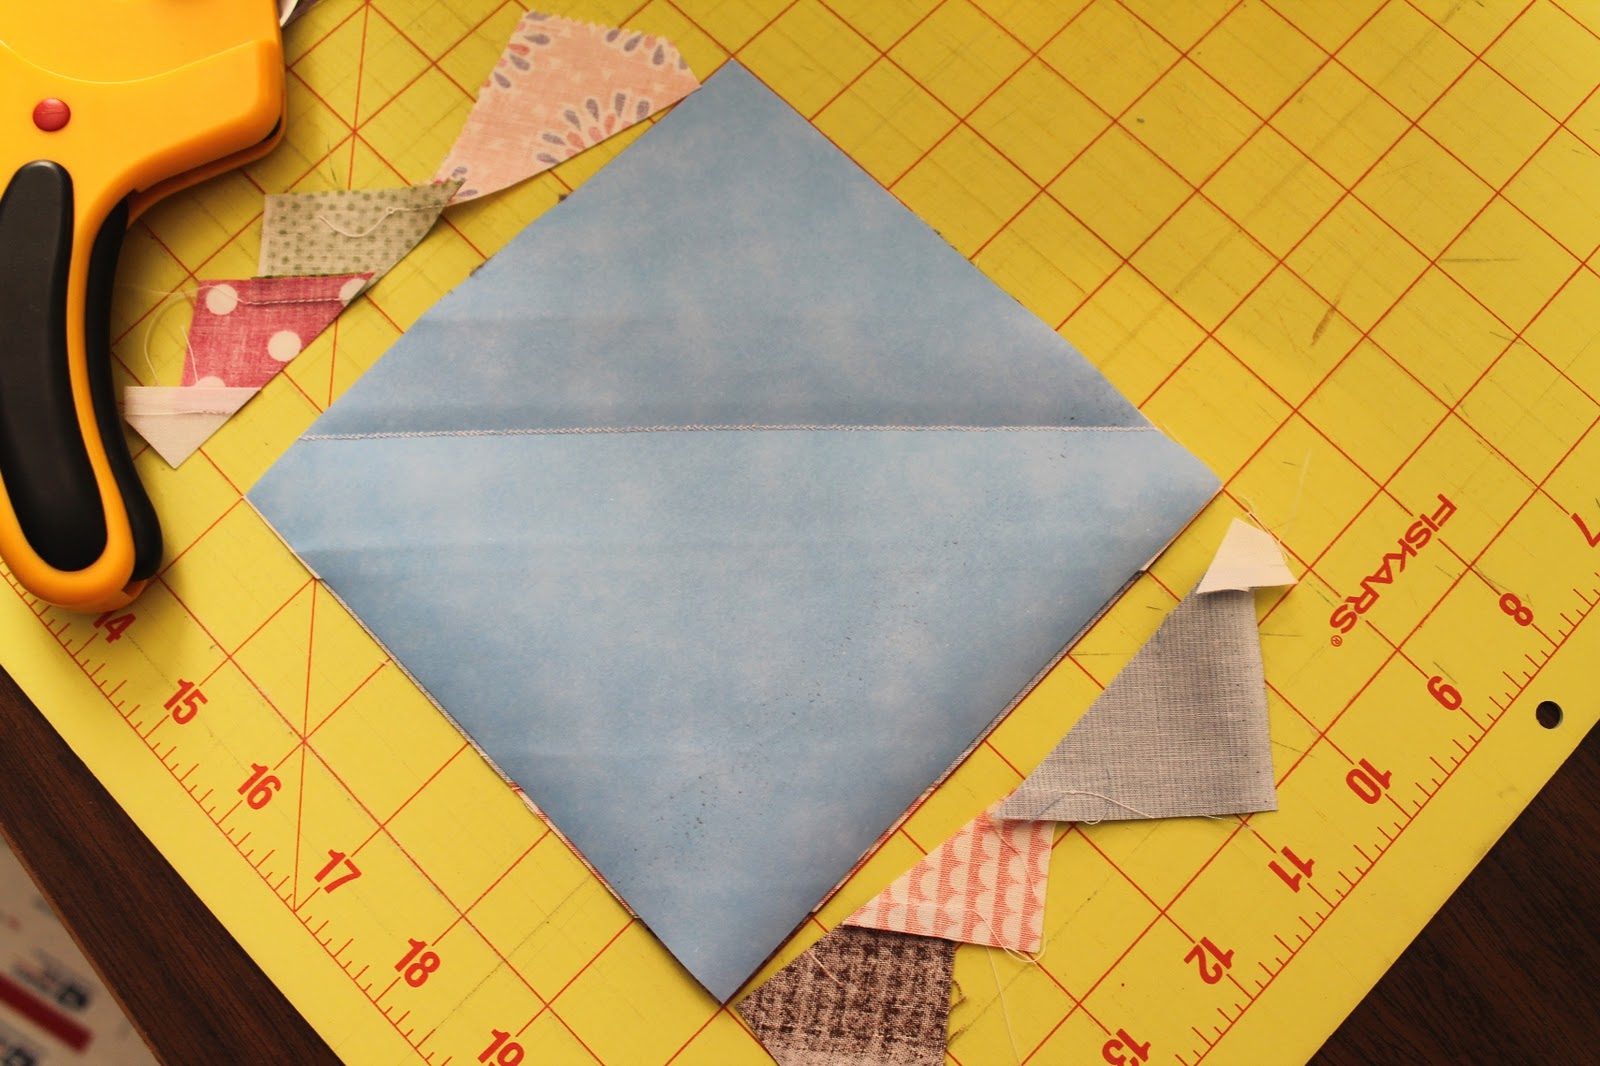
Step 1: Use a ruler to draw two diagonal lines on your paper 1.5" apart.


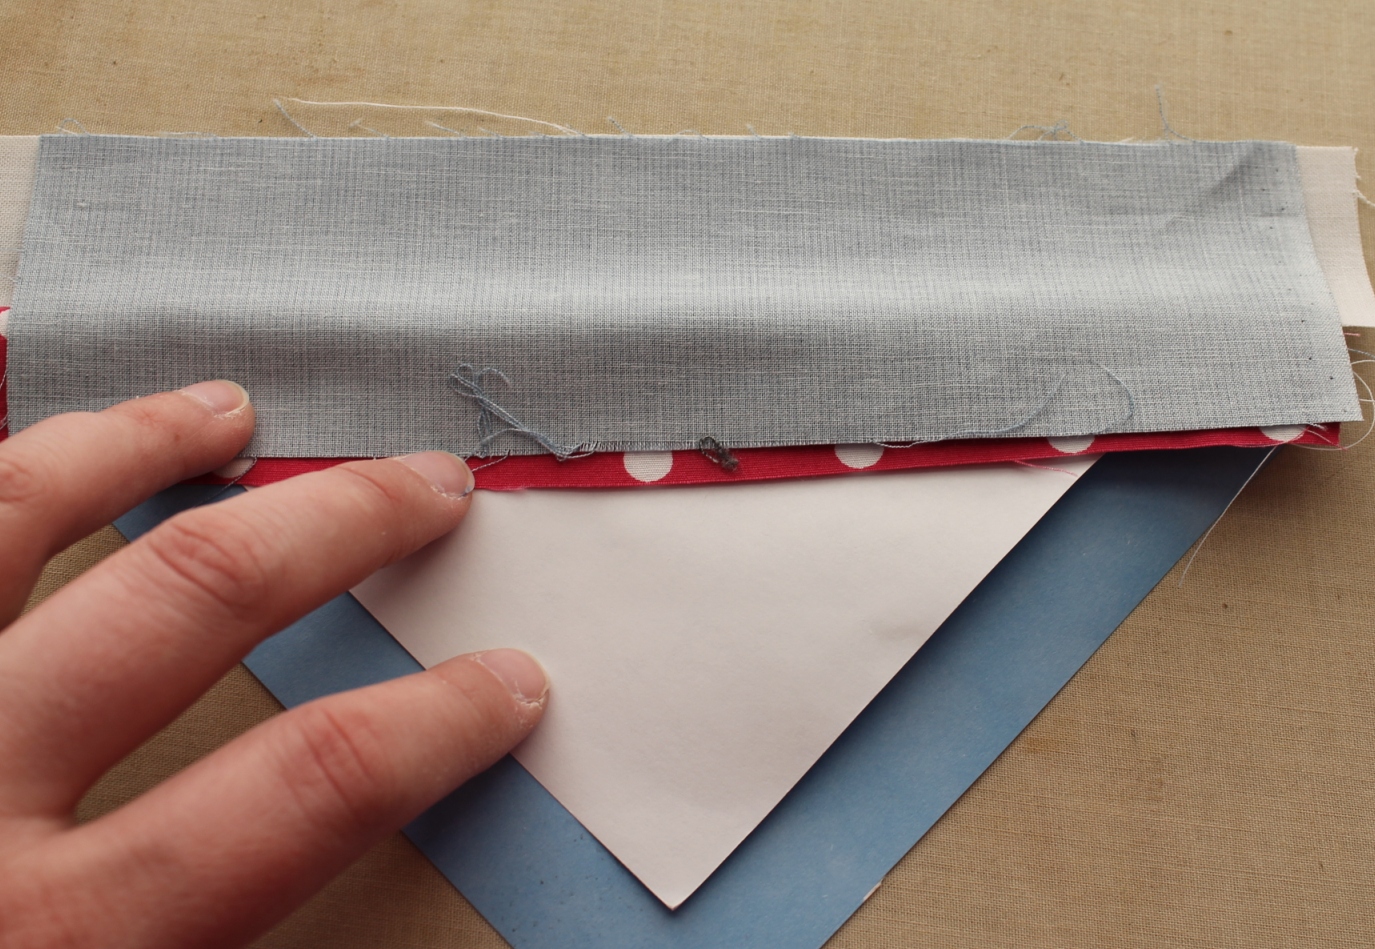
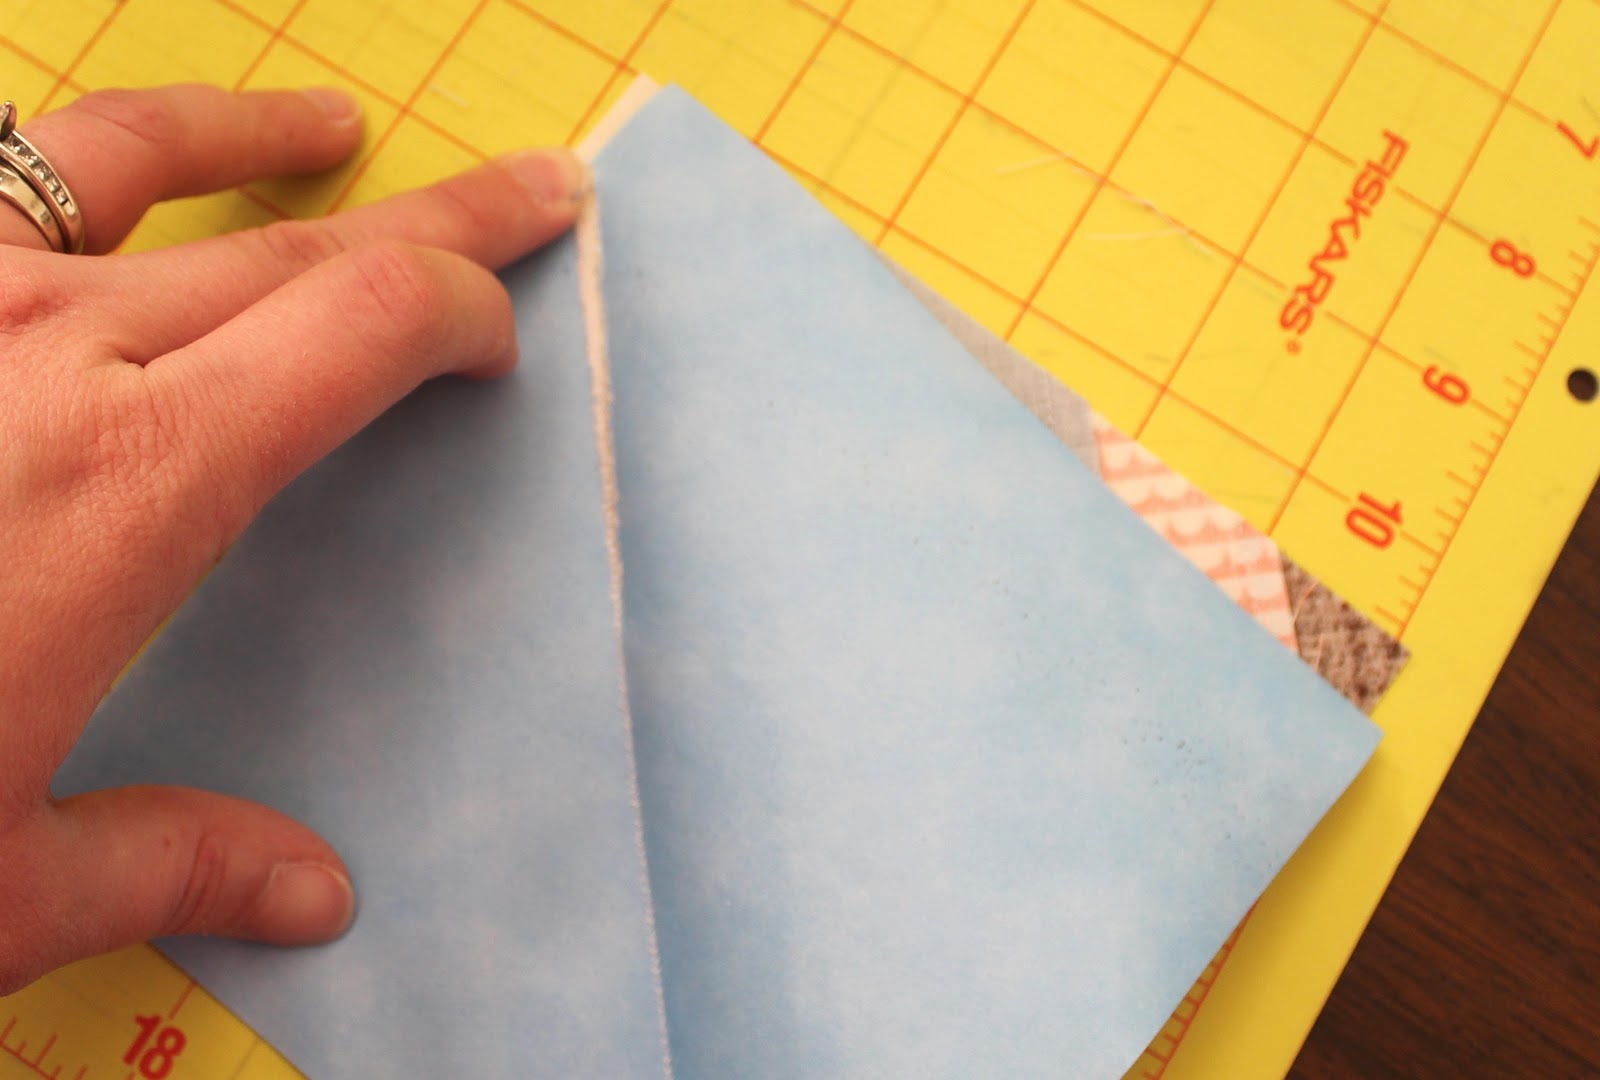
Let's get ready to repeat the process on the other side of the white strip. Fold the paper out of the way so it won't be in the seam you are about to stitch.
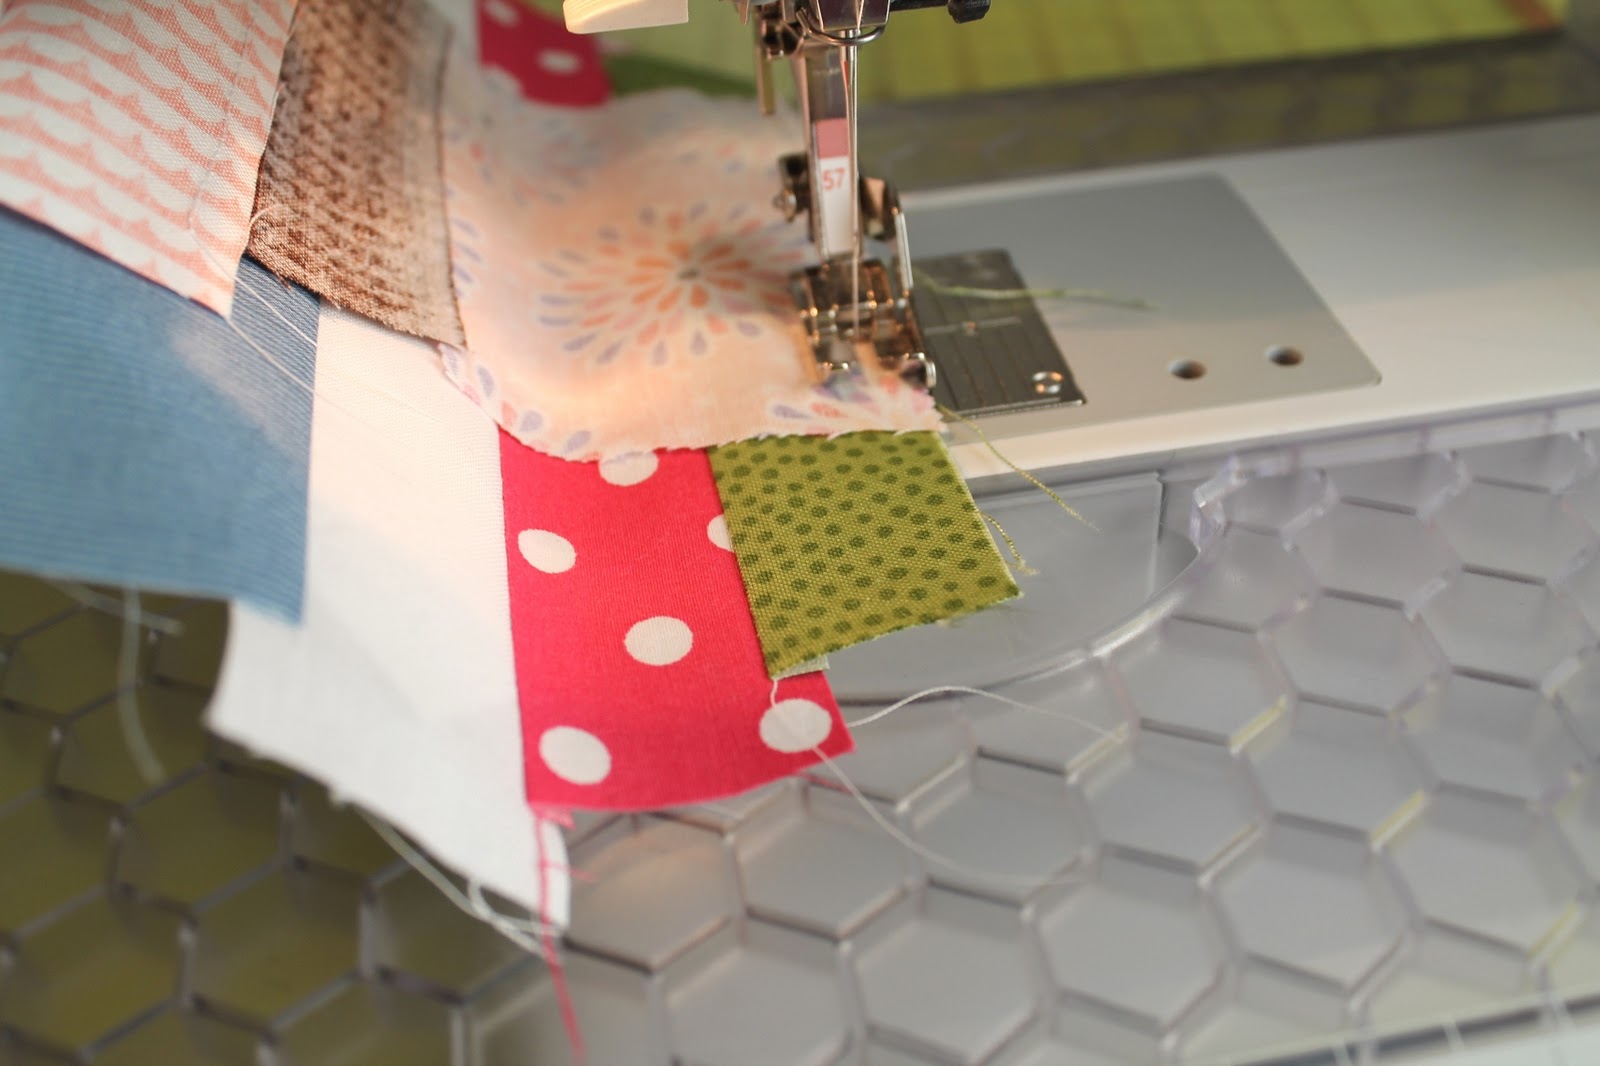
Step 5: Keep adding strips on each side - moving the paper out of the way until you have enough fabric to cover the square of paper.
Step 6: Once you have enough strips added to cover the paper, press your block.


Step 7: Place your block face down on a cutting mat. Line it up with your mat's grid if it has one. And slice the edges off to square up your block. (Note - I use the grid as my guide, not just the paper.)
Step 8: Gently rip the paper off the block. I like to hold the seam at the top to make sure I don't rip out any stitches with the paper. :-) Using thin paper and a shortened stitch will make this easier.
Repeat! Again, I will be making 2 per week for a total of 80 over the next 10 months/40 weeks. :-)

If you have any questions, please ask!
Happy Sewing! :-)
Thanks for the tutorial! I think this is some paper piecing that I could handle.
ReplyDeleteHow cute...I think I'll have to try this! Not sure that I'll use scraps, but it would be an adorable quilt in general! =)
ReplyDeleteI'm still not grasping the "moving the paper out of the way" part. I've done string blocks; sewing on the foundation paper all the way. but without the paper and fabric in front of me so that I can play along, I can't picture it. I may have to join you in this QAL. Just add it to my MANY things I would like to accomplish in 2012 list.
ReplyDeleteFirst of all, thank you for the tutorial and for the challenge! Next, I'm having trouble with your use of paper if you keep "pushing it out of the way" as you add new strips... Would you please explain this a little further for the novices out here?
ReplyDeleteThank you for your help with this & thank you too for your speedy fabric delivery!